AngularJS Tutorial: Real-time User List with Presence
This tutorial walks through building chat with our core pub/sub technology (and other PubNub features). We recently launched ChatEngine, a new framework for rapid chat development.
Welcome to Part 3 of our PubNub series on how to build a complete chat app with PubNub’s AngularJS SDK!
In Part 2: Building an AngularJS Chat App Using History API with Infinite Scroll, we learned how to add the pull-to-refresh and endless scrolling feature (loading previous messages when a user scrolls to the top of the screen).
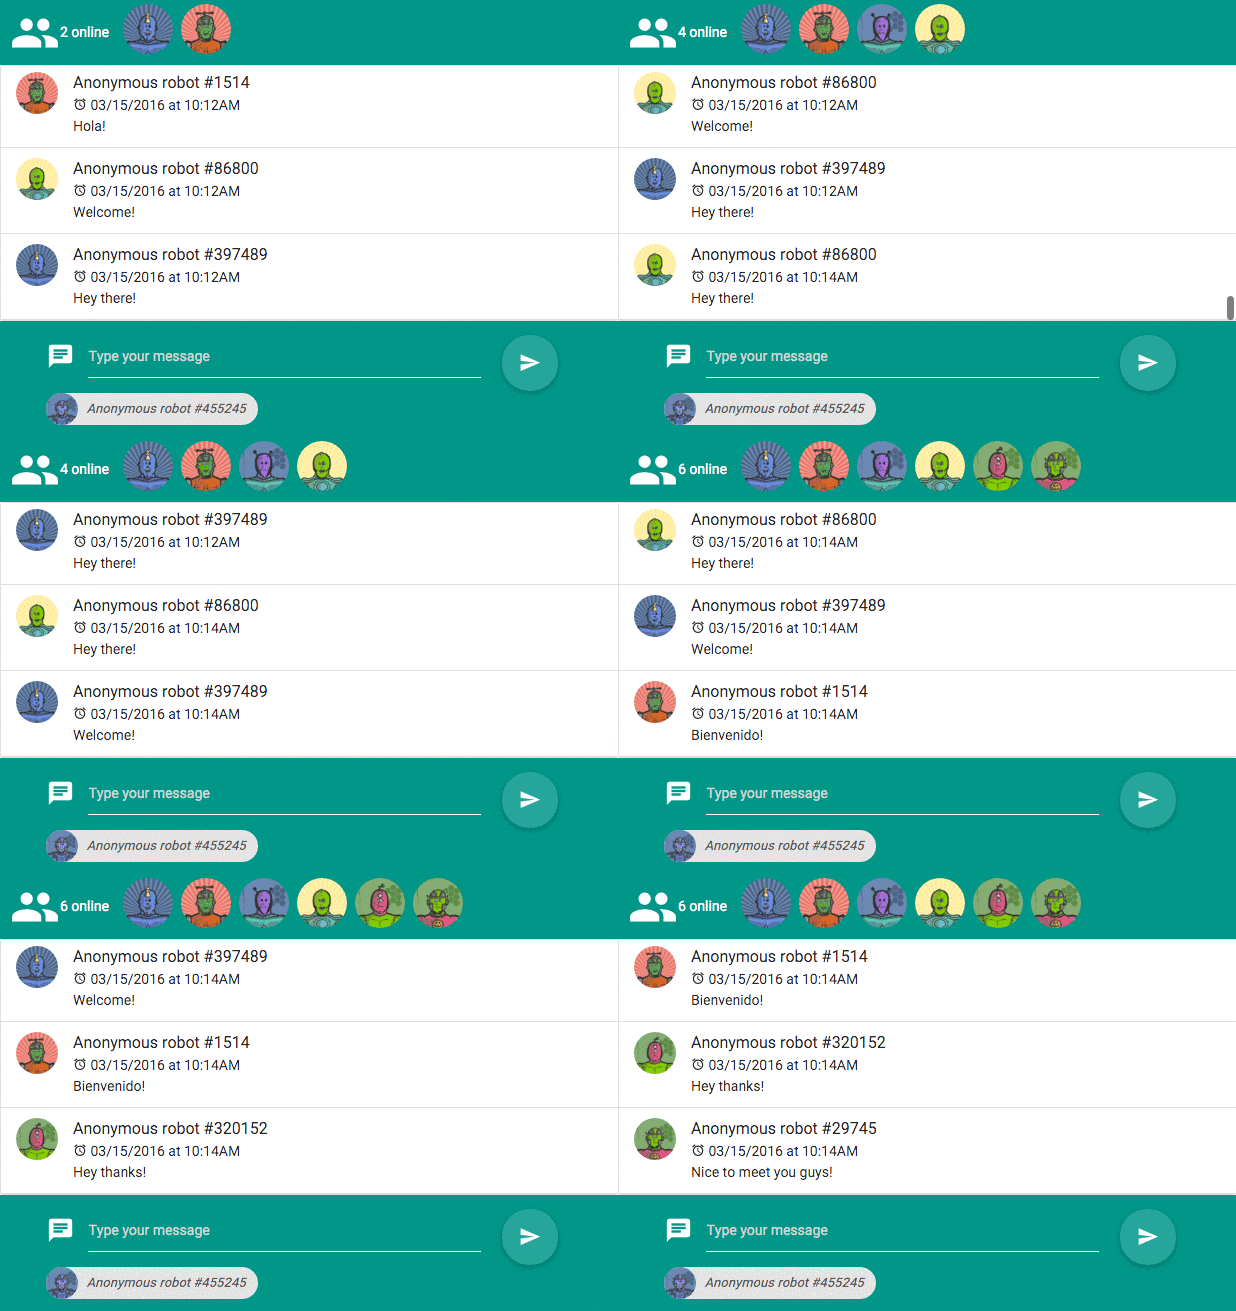
In this tutorial, we will now walk through how to add a real-time roster that shows the people who are currently online and automatically updates when someone joins or leaves the chat room.
Here’s how our chat app will look like at the end of this tutorial:
 |
Demo: The demo of the AngularJS chat app is available here |
 |
Source code: The source code is available in the github repository |
Review: Application Architecture
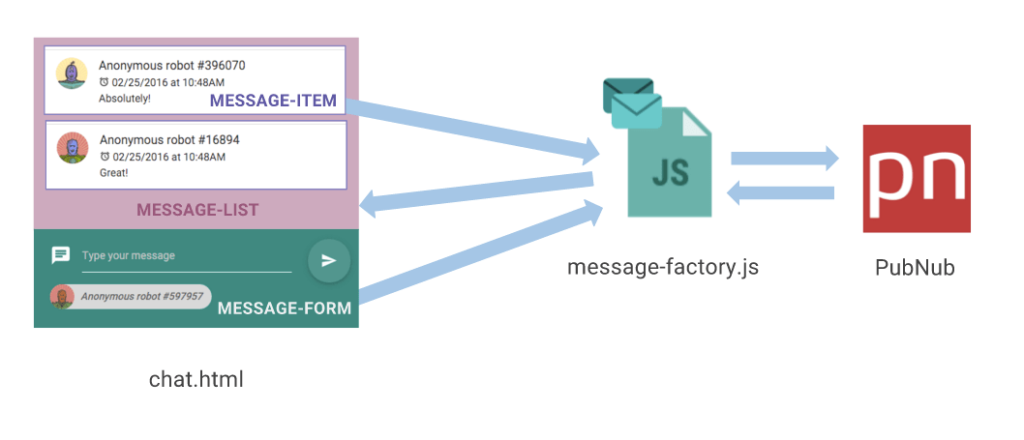
In the last tutorial, we built a chat app with infinite scroll consisting of a UI split in components and a Message factory, which directly communicated with PubNub.
Here’s what the infrastructure looked like:
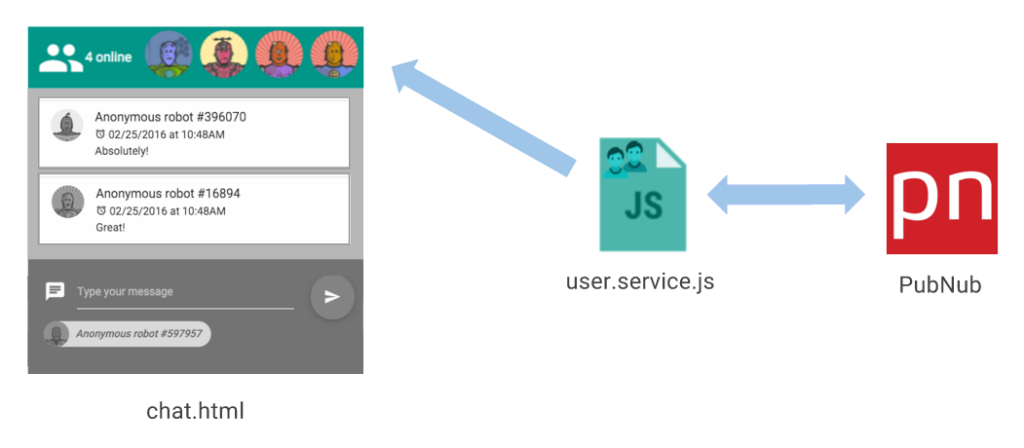
In the next steps, we will be adding a real-time user roster to our chat app while introducing an online-user-list component that get the online users from its User service.
Like a Lego blocks, we can simply add features to our chat app by adding components to our chat view.
Below is a picture of how the online-user-list component, the user service and PubNub will interact together:
If you haven’t followed Part 2: Building an AngularJS Chat App Using History API with Infinite Scroll tutorial, get started by cloning the chat project in the state where we stopped.
Just type this commands in the terminal:
PubNub Presence Introduction
In order to show who’s online in your app, you will need to first activate the Presence add-on in your app if it’s not already. Go to the Admin Dashboard. Select the app you are working on and go to Application add-ons to enable Presence feature.
The Presence API makes it very easy to build presence-aware applications.
When Presence is enabled, subscribing to a channel generates a join event. Likewise unsubscribing generates a leave event, also there is a timeout. These events get broadcasted and you get notified in your AngularJS app.


First of all, let’s create the real-time user roster. This feature consists of a User service and a online-user-list component.
Creating the Real-time User Service
Through our User service, we will be able to get the list of online users and have this list updated in real-time each time someone joins or leaves the chat app.
→ In the services folder, create a file called user.service.js that will be storing an array of users and will expose this array to the outside.
Here is what the base of our service will look like:
Fetching Users Already Connected
Let’s fetch the list of users already connected when we are initiating our service. For achieving that, we will be using the Pubnub.here_now() method that returns an array of UUIDs currently online.
→ Add a populate method that calls here_now and updates the array with the list of online users.
→ Call the populate method in the init function.
Being notified when users are connecting or leaving
Now that we have the list of people already connected, let’s update our online people list.
→ In the init function, subscribe to the Presence events. The PubNub AngularJS SDK is already emitting events on the rootScope that you can intercept. Drive the presence event to an updateOnlineUserList function
Here is our init function :
→ Then, in the updateOnlineUserList function you can add people from the online users list when the event is “join” or remove them when the event is ‘timeout’ or ‘leave’ :
Creating the User Roster UI

Now that the UserService is created and holding the list of online users always updated, the only thing we have to do is to get this list and set up an ng-repeat around it.
→ In online-user-list.directive.js, add the following code:
→ And its corresponding template in online-user-list.html:
→ Then, in chat.html add the online-user-list directive:
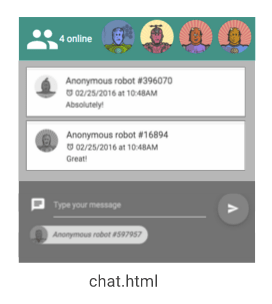
You now have a real-time user roster in your app. Open the app in multiple windows and see the user list updating.
That’s it! You now have a complete chat app with previous messages and infinite scroll and a user roster!
I hope you’ve enjoyed reading this tutorial.
If you have any questions or feedback, don’t hesitate to shoot me an email: martin@pubnub.com
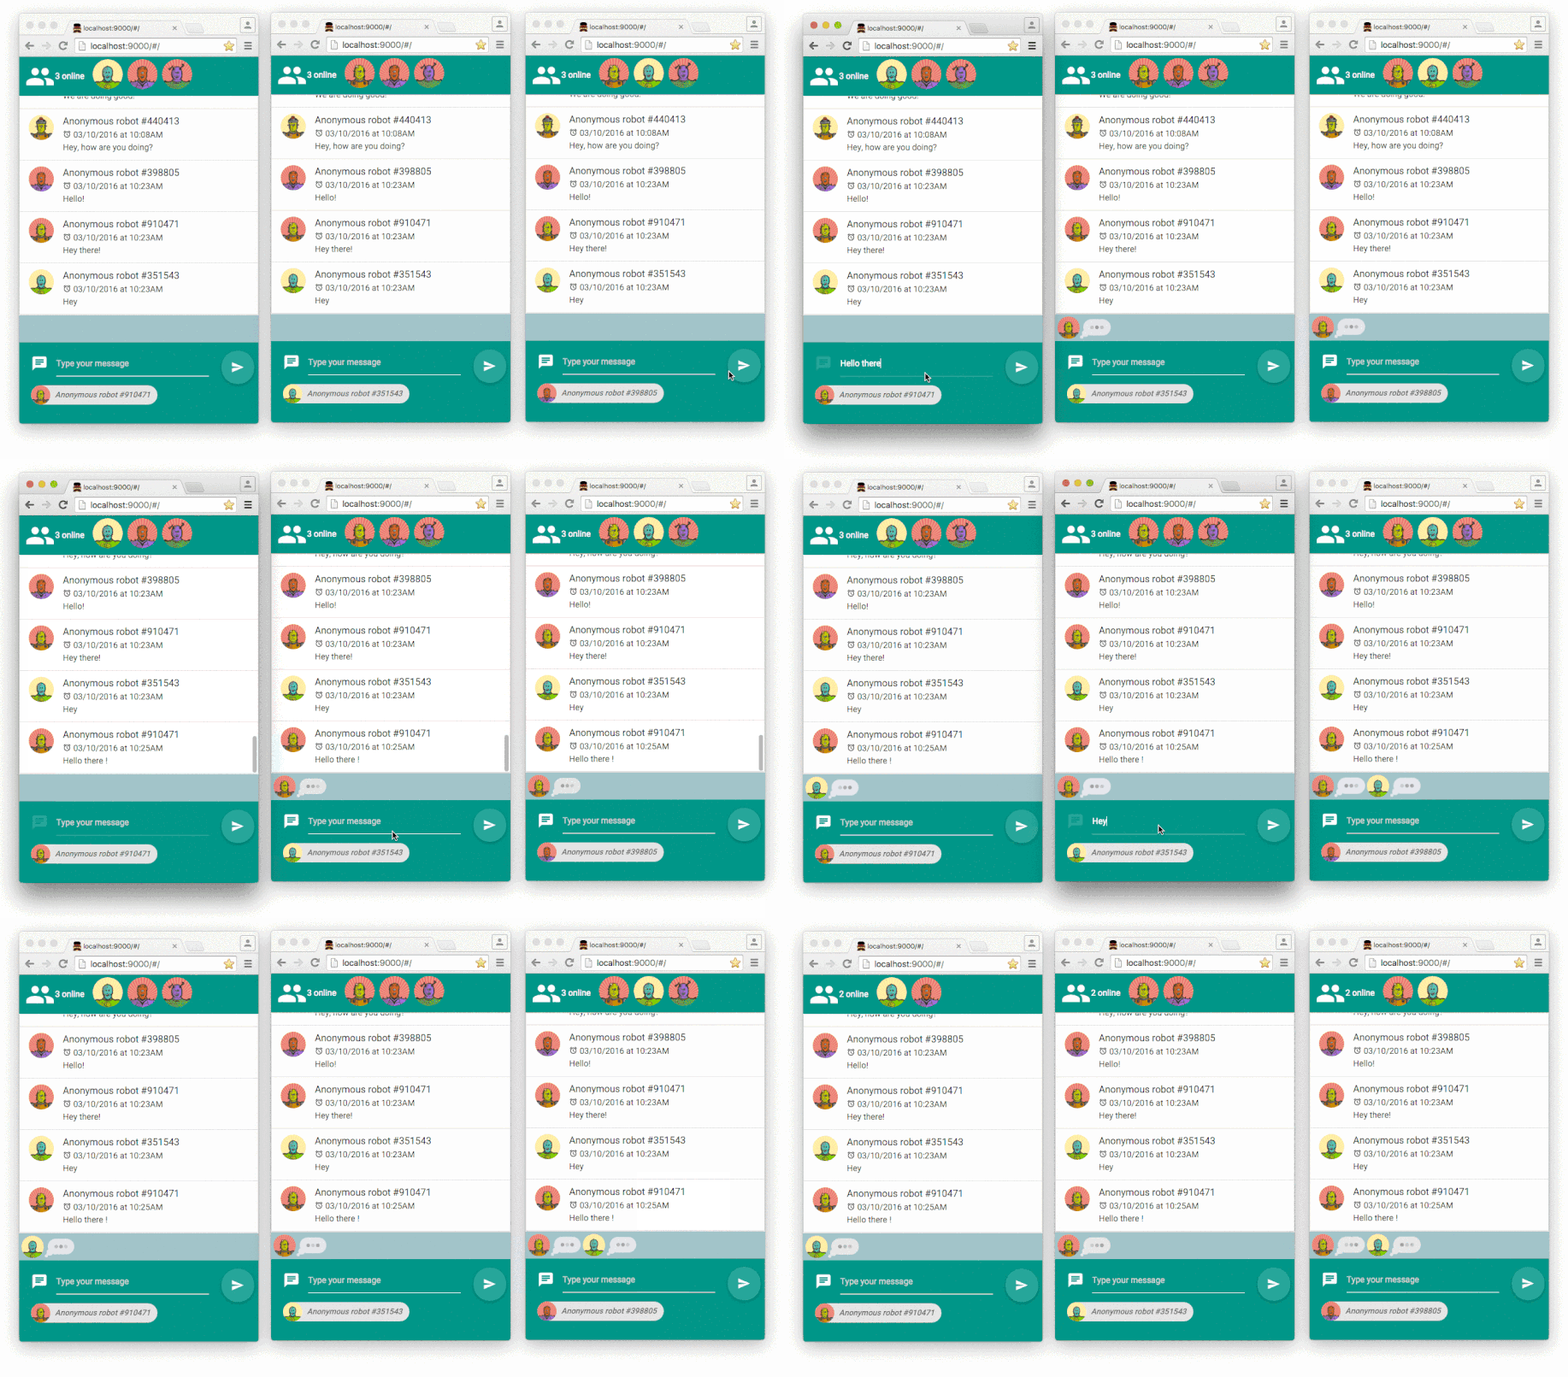
In the next tutorial, we are going to add typing indicators to this app, as you see in the screenshot below.
See you in Part 4 !