AngularJS Chat Tutorial: Sending and Receiving Messages
This tutorial walks through building chat with our core pub/sub technology (and other PubNub features). We recently launched ChatEngine, a new framework for rapid chat development.
Welcome to our 6-part tutorial on building a feature-rich chat application with AngularJS, a JavaScript library for building web and mobile apps, and PubNub, providing APIs and infrastructure for building real-time applications.
The PubNub AngularJS SDK simplifies the integration of PubNub into your web application with a similar API to the Javascript SDK. The SDK also provides support for the AngularJS events pattern and makes it easier to listen to PubNub events in your AngularJS app.
Tutorial Overview
This post is Part One, and work your way through the entire tutorial. By the end, you’ll have a fully-functional AngularJS chat application powered by PubNub. You can navigate between parts with the links below, or the left sidebar.
- Part One: Sending and receiving messages
- Part Two: Storing Message Persistence and Infinite Scroll
- Part Three: Real-time User List with Online/Offline Updates
- Part Four: Typing Indicators
- Part Five: Authentication and Access Control
- Part Six: Channel Groups and Subgroups
In this section, we'll focus on PubNub’s core features: publishing and subscribing for sending and receiving messages in real time.
 |
Demo: The demo of the AngularJS chat app is available here |
 |
Source code: The source code is available in the github repository |
Installing PubNub AngularJS SDK
To get started, you can either use a package manager like npm or Bower. Another option is to manually include a script tag with the library from the PubNub CDN.
Using the PubNub CDN:
Using NPM:
npm install --save pubnub pubnub-angular
Using Bower:
bower install --save pubnub pubnub-angular
Messaging Basics
Now, let’s create a simple chat room – each user is given a random identifier and can chat with other anonymous users.
Initiating PubNub
In your Angular app, include this quick snippet to get started:
We've set up the PubNub app keys that you can get by signing onto the website, which you can then go create an app. We provided our own UUID to identify the user for the PubNub network. Don’t worry if you forget to set the UUID. The PubNub SDK will generate one for you.
Sending messages
To send messages, let’s add a sendMessage() function in the Chat controller that will send the messages over the PubNub network.
We continue by adding a field and a button in our html template to trigger the sendMessage() function.
Receiving and displaying messages
Now that the messages are sent out, let’s receive them. In order to do that, we need to subscribe to the messages-channel channel and to react on the callback for when the message is sent and store it in the global messages array.
Now we can display the messages by iterating over them. It will be displayed on the page each time a new message is sent.
That’s it! You can find more information in the official PubNub AngularJS SDK documentation.
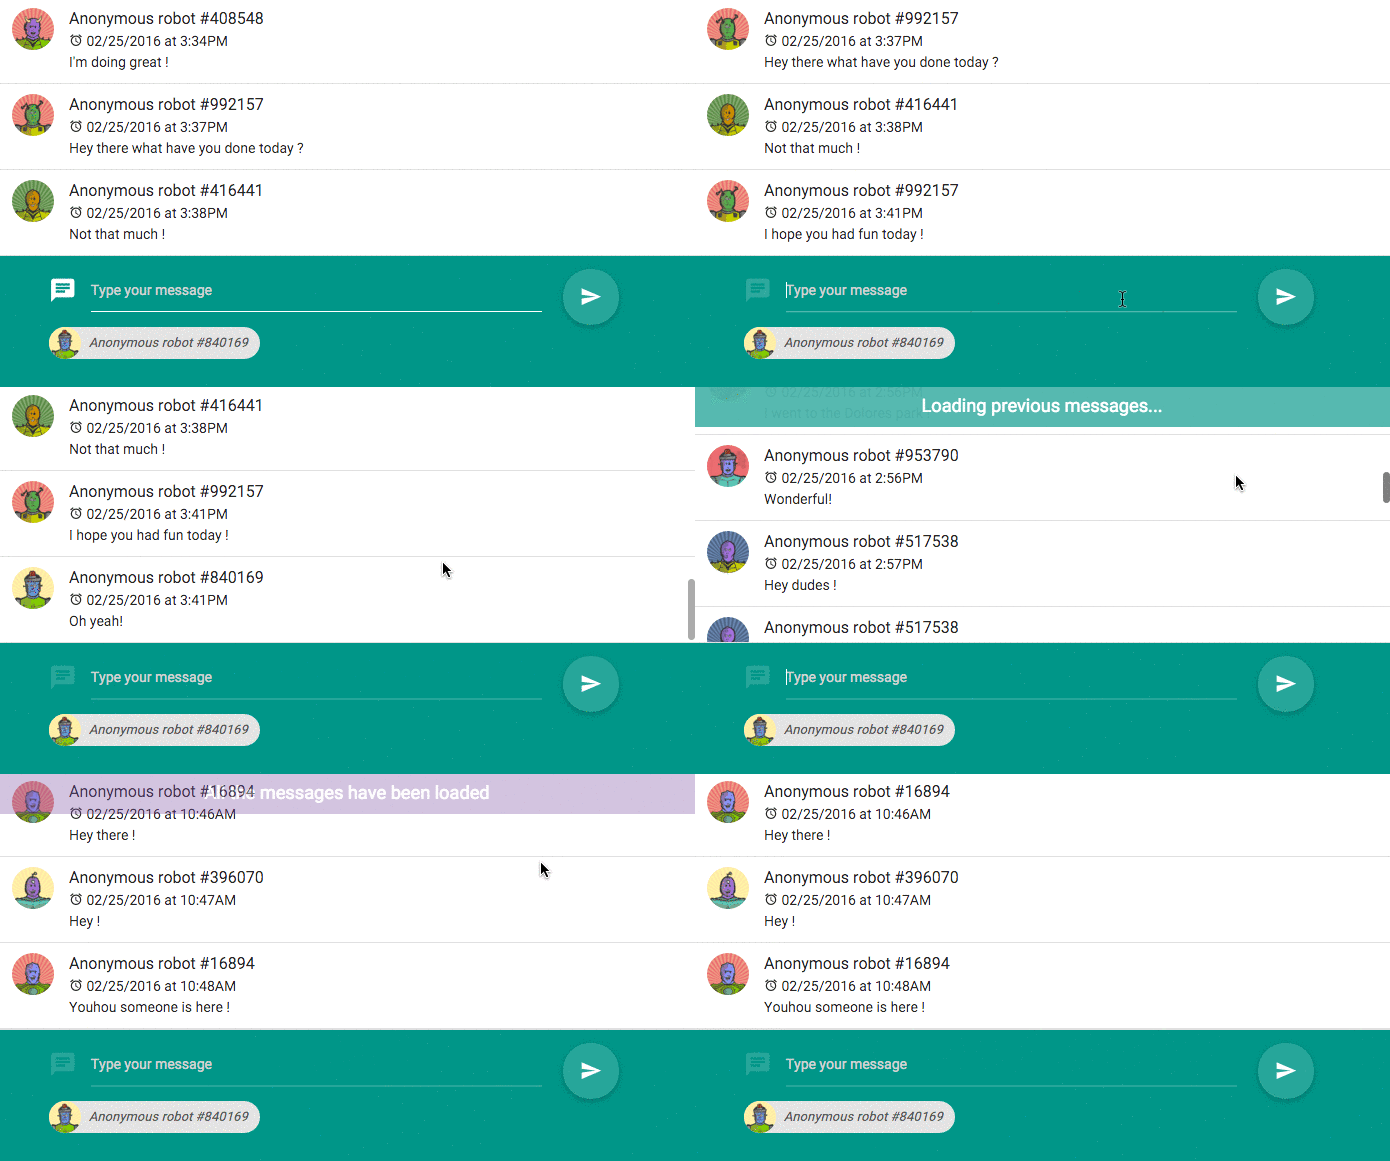
In the next tutorial, we will walk through how to improve our chat app for loading the previous messages when you initialize the app and when you scroll to the top of the screen. Also, we will walk through all of the best AngularJS practices to build a well-structured AngularJS app. Here’s how our chat app will look like:

See you in Part 2!