Build a Mobile iOS Chat App with AngularJS and PhoneGap

Good News! We've launched an all new Chat Resource Center.
We recommend checking out our new Chat Resource Center, which includes overviews, tutorials, and design patterns for building and deploying mobile and web chat.
We know the world's going mobile. As a result, mobile app development is growing exponentially in demand. However, there are hundreds of platforms to choose from, and mobile development for a number of different platforms is pricey.
Luckily, there is a solution which allows you to develop for multiple mobile platforms with one codebase. This solution is PhoneGap/Cordova.
PhoneGap/Cordova for iOS Chat
PhoneGap/Cordova enables a developer to build an application in JavaScript (or in this tutorial's case, AngularJS), and make it compatible for iOS devices.
And luckily for you, the same code can be used on other platforms (check out the Android version of this demo here).
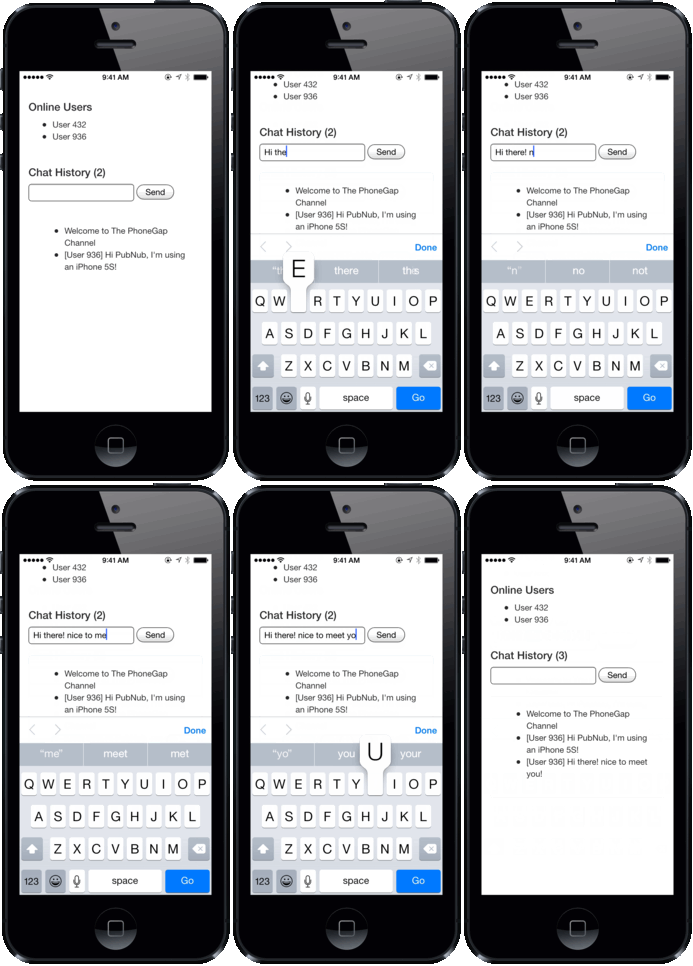
In this tutorial, we won't be using Xcode, Objective-C, or Swift, but rather JavaScript. It will have the structure of a web application and will allow non-mobile developers to get onboard very easily, without the common hassle of learning Swift or Objective-C. It also will adapt for different screen sizes, now that iPhones have different form factors such as iPhone 5C or 5S, iPhone 6, and iPhone 6 plus.
By using HTML and AngularJS we will build a chat you can run on multiple devices with different screen sizes and resolutions. Example devices are the Nexus 5, Nexus 6, Motorola’s Moto X or Moto G, and any of Samsung’s or LG’s flagship phones.
In this post we will use the Cordova open-source engine to build an iOS specific app. Because PhoneGap uses more or less the same engine, we will use the two terms interchangeably.
Let’s dive in and figure out all we need before getting started!
Install Cordova/PhoneGap for iOS Development
First let's install Cordova. The complete Cordova installation guide is here, but for Linux and Mac OS X users who already have npm installed, all you will need to do is to open a terminal and write:
That’s all! For the specific mobile platforms you want to compile your code to, it may take a little more time if you don’t already have all the tools setup. But honestly, it won’t be too troublesome installing all of it.
Requirements to Build an iOS Chat App with Cordova/PhoneGap
- A computer running OS X (maybe in a VM?)
- Xcode and the latest iOS SDK (available for free on the apple store!)
- Xcode command line tools (available for free on the apple store!)
- ios-sim to simulate an iOS device (simply writing
$npm install -g ios-simin the terminal should do the trick)
Getting Started: Create a PhoneGap/Cordova Project
Alright, at this point if you already had your environment set up you just needed to write a few words in the terminal. If you had to install Xcode, it probably took you a lot more time than that.
Now that we’re all up to speed, let’s start a Cordova project. To do so, let’s cd to the working directory of our choice, and run the following command:
The folder name is the only required field here, but you’ll be better off inputing all three of them right now. The second field, com.example.appname represents the package identifier as you’d name it in a Xcode project for example.
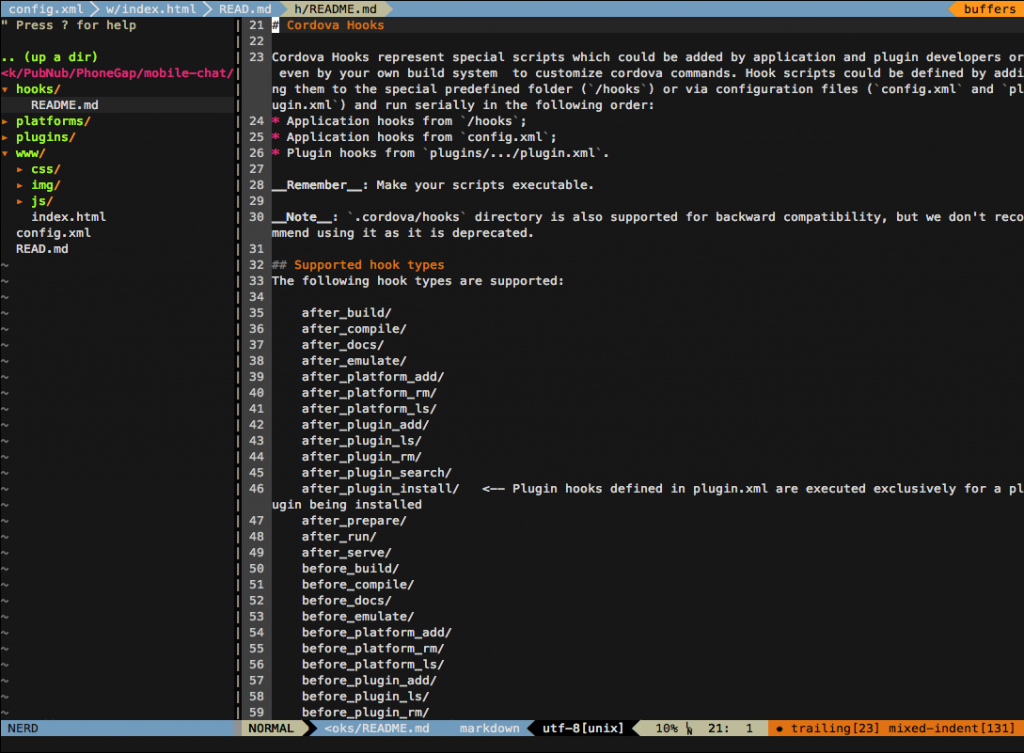
What does a PhoneGap/Cordova project contain?
Cordova simply built the structure for a cordova project with a little HelloWorld app. Let’s look at the folders we created:
- hooks/ folder is here to shelter scripts that need to be executed at different steps of the app’s life cycle. We won’t be needing to deal with that here, it’s just nice knowing why we have empty folders lying around.
- platforms/ will contain a folder for every platform you decide to compile your code on. We’ll soon have an iOS folder in there that will contain an Objective-C project, without us having to write any of it. Pretty neat, right?
- plugins/, self explanatory. We won’t be using this folder either.
- www/ will be where we’ll be doing all our work. It’ll contain our HTML code and our javascript.
You can probably keep the folders and delete all the files inside our www/ folder, we won’t be needing the given helloWorld app, but feel free to take a look at it.
You do want to keep the config.xml file in the root directory and edit the relevant points (change the app name, add a description, put in the author’s name, etc…)
Using AngularJS and HTML to Develop an iOS App
In this section, you will find all of the required code to make the app run. To set up the structure of your simple AngularJS chat application, check out our introduction to AngularJS chat application blog post here. We go line-by-line!
It's important to remember that building mobile apps in Cordova allows you to create web applications as native applications. As a result, developing mobile applications in Cordova resembles developing web applications for mobile browsers.
What a PhoneGap/Cordova html file should include:
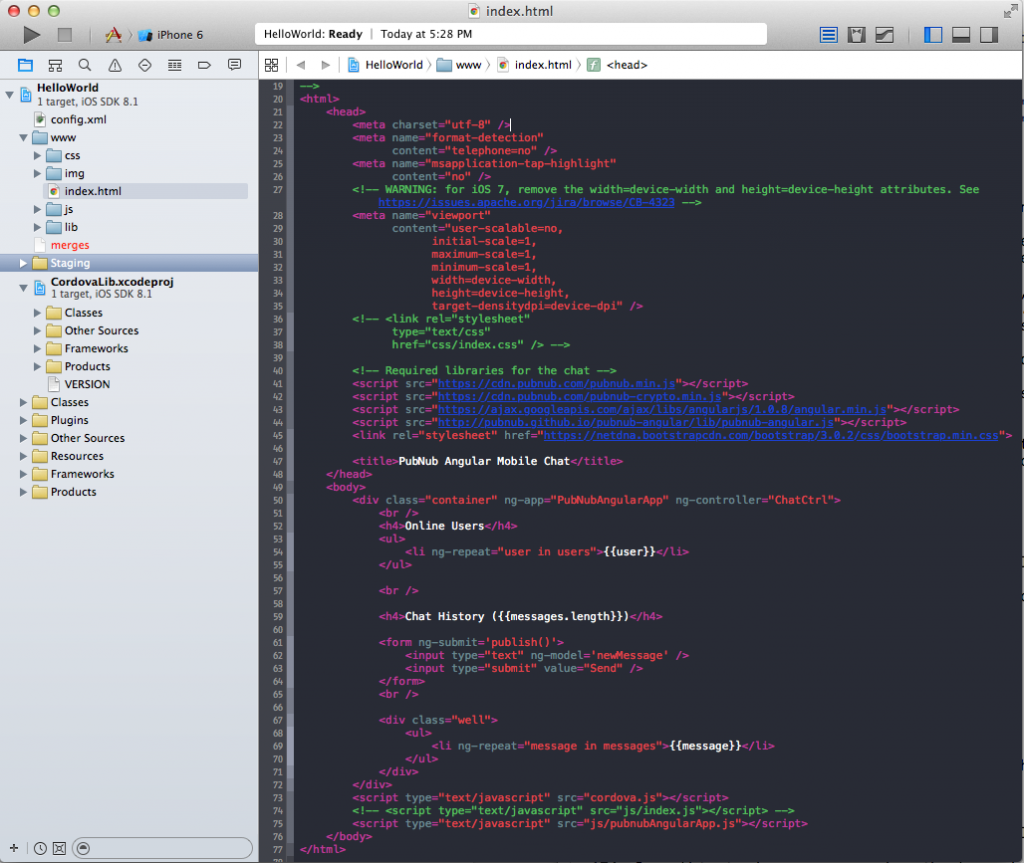
The head of our document will be as follows:
This looks familiar. As expected we start by defining our encryption. The rest is less common:
- The
"format-detection"meta tag simply disables the ability for telephone numbers to appear as hypertext links. The default value for iOS and Safari being yes, we have decided to disable it so that all devices behave similarly. - In a similar fashion, the
"msapplication-tap-highlight"meta tag is a Microsoft only tag disabling tap highlighting for links. - The
"viewport"tag is the most important here as it defines the behavior of our view. It is set here such that the user may not use zoom functionalities and sets the scale of the page. Redundantly we limit the maximum and minimum scales to 1. Feel free to modify them as you wish. We also set the canvas of our HTML code to match the screen of the device. Finally, we set the pixel density. This is a more delicate affair and might need to be tweaked depending on the device. Remember that a pixel is not a pixel! Understand that a screen pixel and a CSS pixel are different entities. More about this tag on Mozilla’s and Safari’s developer page.
Let’s do a rapid overview of the scripts:
- pubnub.min.js holds the heart of the javascript PubNub communication library.
- pubnub-crypto.min.js holds encryption features.
- angular.min.js allows us to use some awesome AngularJS features in our JS and HTML. You’ll see the wicked consequences in a minute!
- pubnub-angular.js extends the pubnub functionalities for AngularJS.
- bootstrap.min.css to have that nice bootstrap look.
How to use AngularJS attribute in our HTML body
Let’s make it simple. Angular is the key to our app’s dynamism thanks to the ng-app directive referring to our module and ng-controller directive which links our controller to our template.
We can divide the code into two key parts. One listing the Users, one listing the messages. Let’s have a quick review of these angular attributes:
- Thanks to the angular attribute ng-repeat, we dynamically generate a list of users from our data, and a list of messages.
- The ng-submit allows us to call the publish() method from our Javascript code which we will see in a minute.
- ng-model, as you can guess, does some binding with our data model
Finally, we call our cordova script which is essential for our app to function. The "pubnubAngularApp.js" holds the brain of our app!
Let’s open the hood of our app’s downloadable example code. We’ll explore the fun logic inside before taking it for a ride on real devices or emulators.
Writing a mobile application in Javascript
“Cogito ergo sum” –Javascript
The JavaScript code holds the controller to the HTML code. We’ll do a quick overview. Again, for a more precise AngularJS chat app description go here.
You'll want to sign up for a free PubNub account, then get your unique publish/subscribe keys from the Developer Admin Dashboard. We have an unlimited Sandbox tier, so test as much as you like. Input your publish/subscribe keys below:
The controller first initialized PubNub with a subscribe and publish key.
Once this is done, we can subscribe to a channel where all the users from the chat will send their messages.
Because we want to upload these messages to the screen as soon as they are received on the channel, we write a callback which is triggered every time the new message event is fired.
We build similar methods to when a new user appears by handling a presence event.
We can also view the history of the channel to repopulate the previous messages sent and users list.
Finally, we create the publish() method which is called whenever a user hits the send button.
Voilà! We’re done! All we want is to see the app run on all our devices.
Test your PhoneGap/Cordova code on iOS devices or the emulators
What we’ll want to do is follow 3 steps:
- add the chosen platform to the project
- build the code for the given platform
- run the code on the emulator or on the device
Building cordova code for iPhone
These lines simply create the proper platform set up for the application and builds our app for a given platform.
Run Cordova code on an iPhone emulator
This simple line will run the default ios emulator you use with Xcode.
Run cordova code on an iOS device
Building the cordova code created a full Xcode project. You can simply open this project and run it on your iOS like you normally would on Xcode. Remember that you need to sign your code and have a Apple Developer ID to do so!
As we said before, we also wrote this tutorial for building an Android chat app using AngularJS and PhoneGap. You can also check out a number of our iOS projects and tutorials here.


