How to Build an Android Beacon (iBeacon) Emitter [3/3]
Welcome back to the final part of our three part series on building an Android beacon. We started with our Android beacon introduction, and last blog post, we walked you through building the Android iBeacon detector (aka ‘listener'). Now it's time to build the emitter.
In this article we will be building a working example on how to have your Android phone act like a beacon (works only for Android L with proper hardware: currently Nexus 6 and Nexus 9)! But we won’t stop there, we want to make our beacon smarter! Our sample app will be using PubNub to establish a two-way communication between the beacon and the user detecting the signal! We have a high level description of the concept of our app in our smarter beacons for iOS, Android, and Tessel overview, so give it a look so you understand how our app will work!
Setting up the AdvertiseData and the AdvertiseSettings

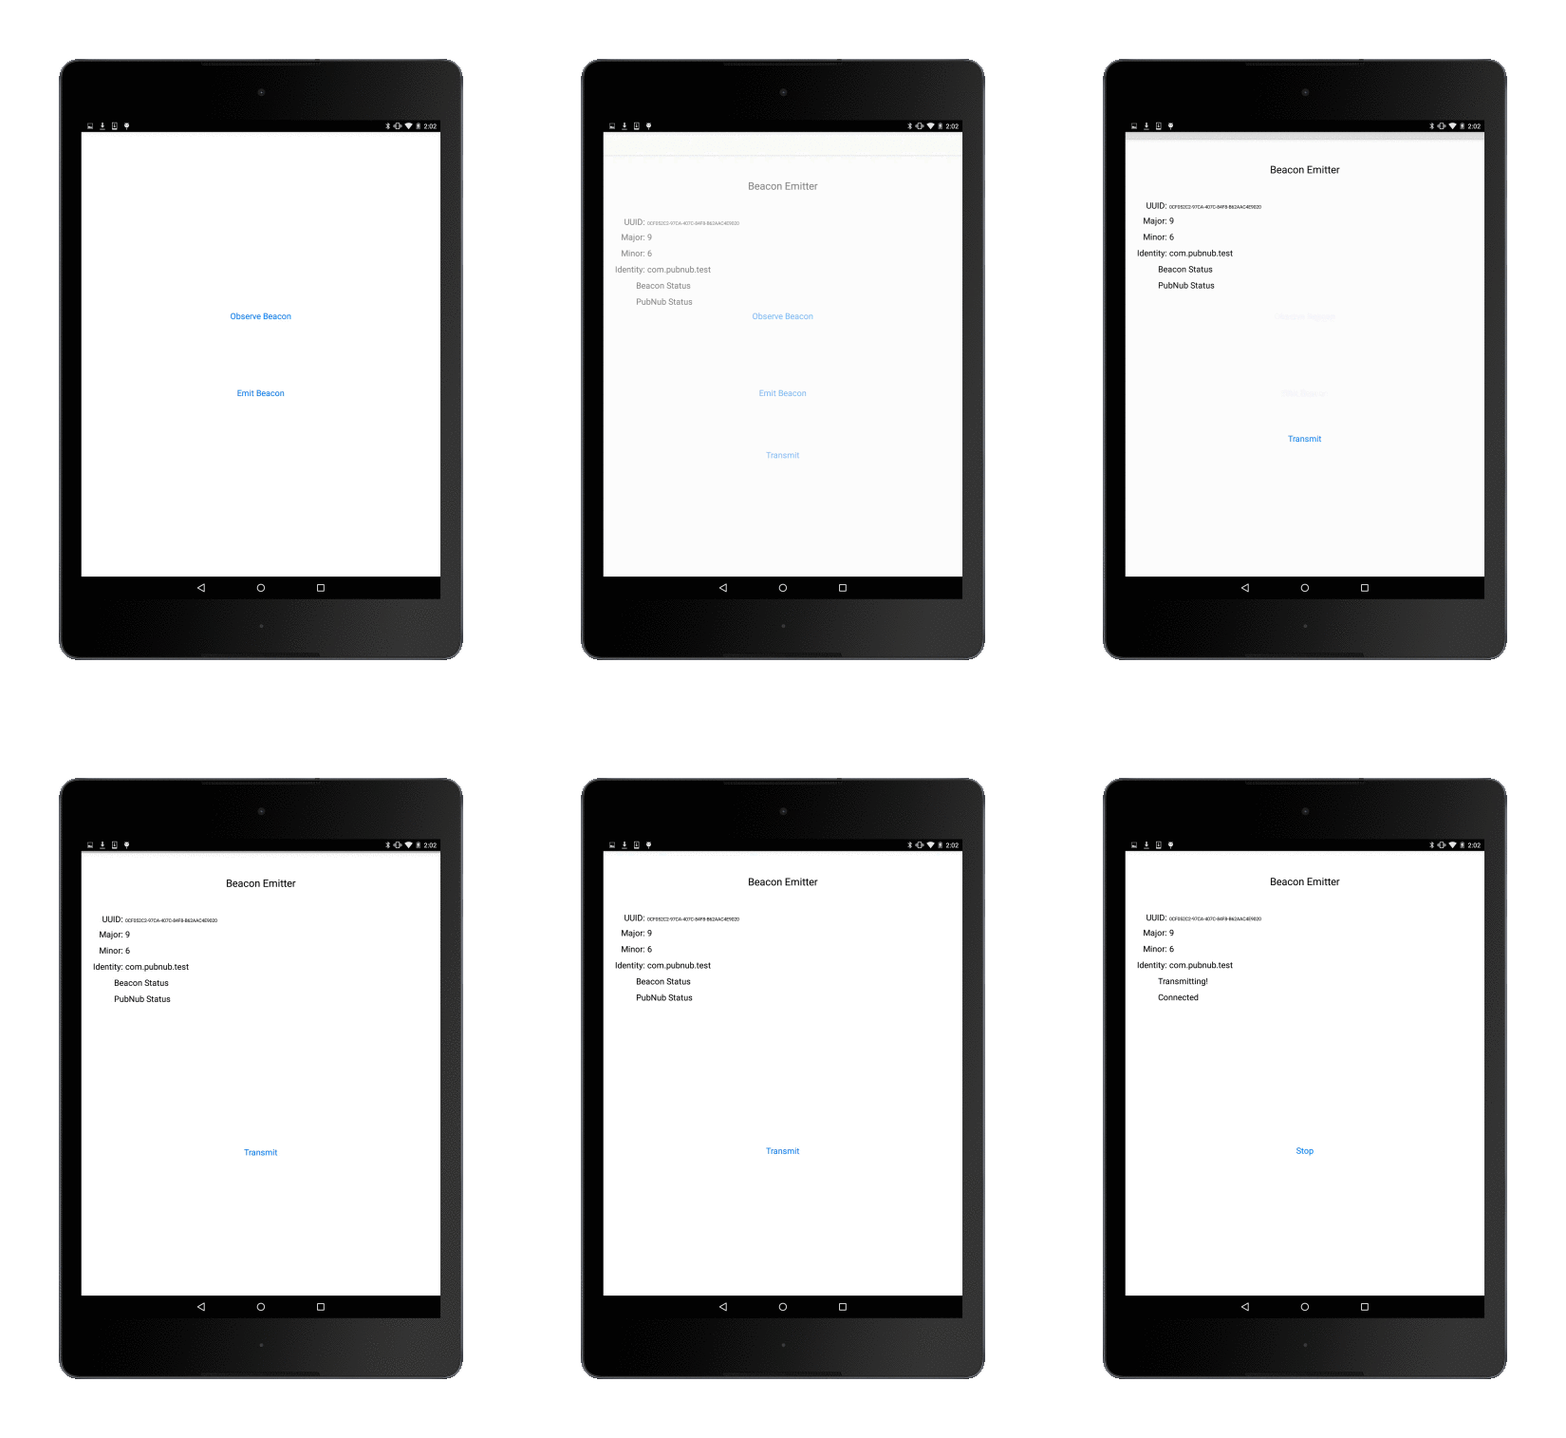
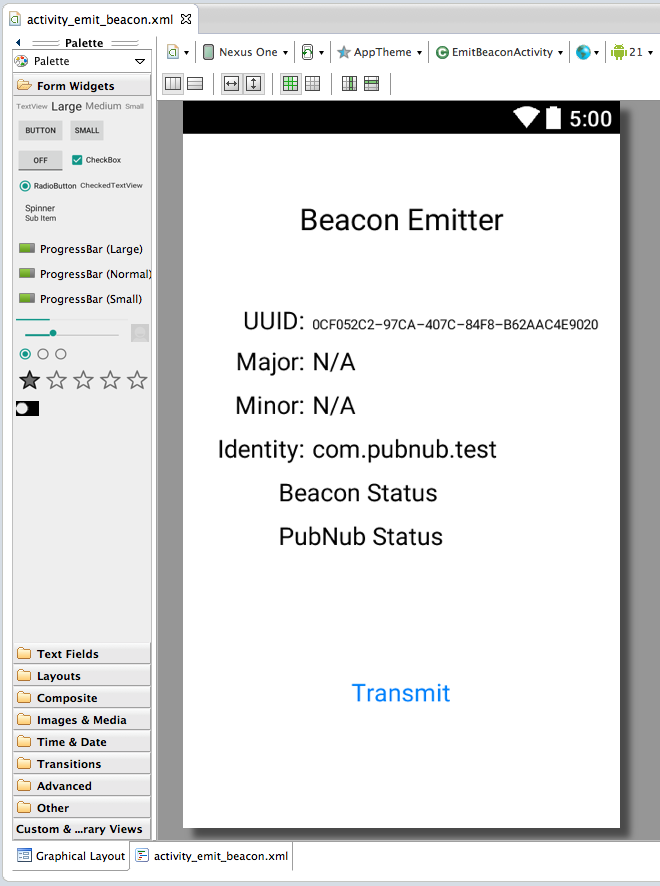
Like our previous blog post, we won't be focusing on UI here. So for the sake of simplification, we will run most of our code from the onCreate method of our main activity.

You'll first want to do is and BLUETOOTH and BLUETOOTH ADMIN permissions to your android manifest. Then in your onCreate method, you will instantiate a Bluetooth LE Adapter and a Bluetooth LE Advertiser as described in our previous blog post, an overview of the package.
From our onCreate method we will set the Advertiser Setting and the Advertiser Filter:
We built the advertised data. It is the second AD structure of the emitted scan record. The first AD structure is automatically generated. The bytes containing the length and the data type are also automatically generated. All we needed to do is build an array of bytes containing:
- the 2 byte beacon identifier (0xBEAC)
- the 16 bytes UUID
- the 2 byte major
- the 2 byte minor
- the 1 byte tx power
The tx power is a reference RSSI which represents the RSSI at a meter away from your device. For the Nexus 9, -75dB is a reasonable value. Try using another device to take measurements if you are not sure for your device.
We set some settings, this is fairly self explanatory.
That’s the only preliminary work you need to achieve! Now we are good to go, we can start advertising:
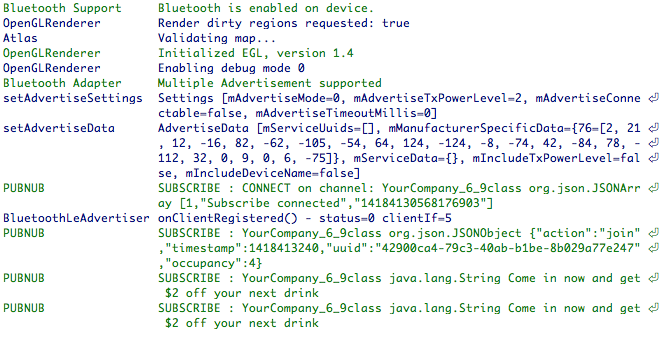
Yeah! We are up and running, transmitting good beacon vibrations and what not. Pretty neat. In the scope of our app, we won’t need to implement the advertisement callback, but you could just have it log that the advertising started for example.
Now let’s get to the most interesting part: creating a two-way communication between the beacon and your phone!
We are advertising information allowing other devices to subscribe to our PubNub channel. We will be listening to presence events on that channel and as soon as a device connects, we will send a message for the device to display to the user!
Use PubNub to Make Smarter Beacons
The first thing you’ll want to do is import pubnub in your build path! Grab the Android Java SDK for PubNub here, and see how to get started.
Also, add the INTERNET permission:
Our Activity will have a PubNub variable which we will initialize on create, like so:
When the connection to PubNub is initialized, you need a publish and a subscribe key.
To get your unique pub/sub keys, you’ll first need to sign up for a PubNub account. Once you sign up, you can get your unique PubNub keys in the PubNub Developer Dashboard. Our free Sandbox tier should give you all the bandwidth you need to build and test your app with the PubNub API.
All we have
 left to do is listen to our channel for presence events:
Notice we had to declare a callback. Let’s look into how we define it:
We can also define more callbacks for connection, disconnection, error events. All these are available in our documentation for our Java SDK.
Once someone joins the channel, we simply publish a message on the channel!
And that’s it! All you need to know!
We've published our tutorials for Tessel beacon, and now Android beacon. How are you going to implement this beacon technology?