 Welcome to part two of our two part tutorial on building a gamecast app that streams statistics from a single controller to any number of subscribers using a broadcast pub/sub design.
In our previous tutorial, we built the controller (publish, which allows a user to edit fields and push updates to the end-user app (the subscriber). If this is the first post you've landed on, we recommend heading back to AngularJS Gamecast App part one, then once you've built the controller, come back to this blog post.
In this blog post, we'll be building the end-user application which subscribes to our controller, and receives and updates based on the data published from the controller.
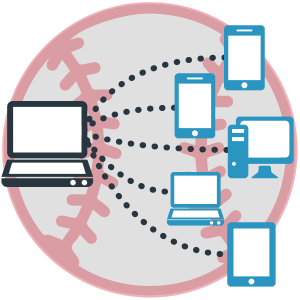
Any number of subscribers can be connected to the controller, and updates are received simultaneously, in real time.
Real-time Gamecast Tutorial Overview
The application is actually made up of two applications:
- Controller (publisher): Edit fields and publish the updates. (Part One)
- End-user application (subscriber(s)): Updates are received and displayed in real time. (Part Two)
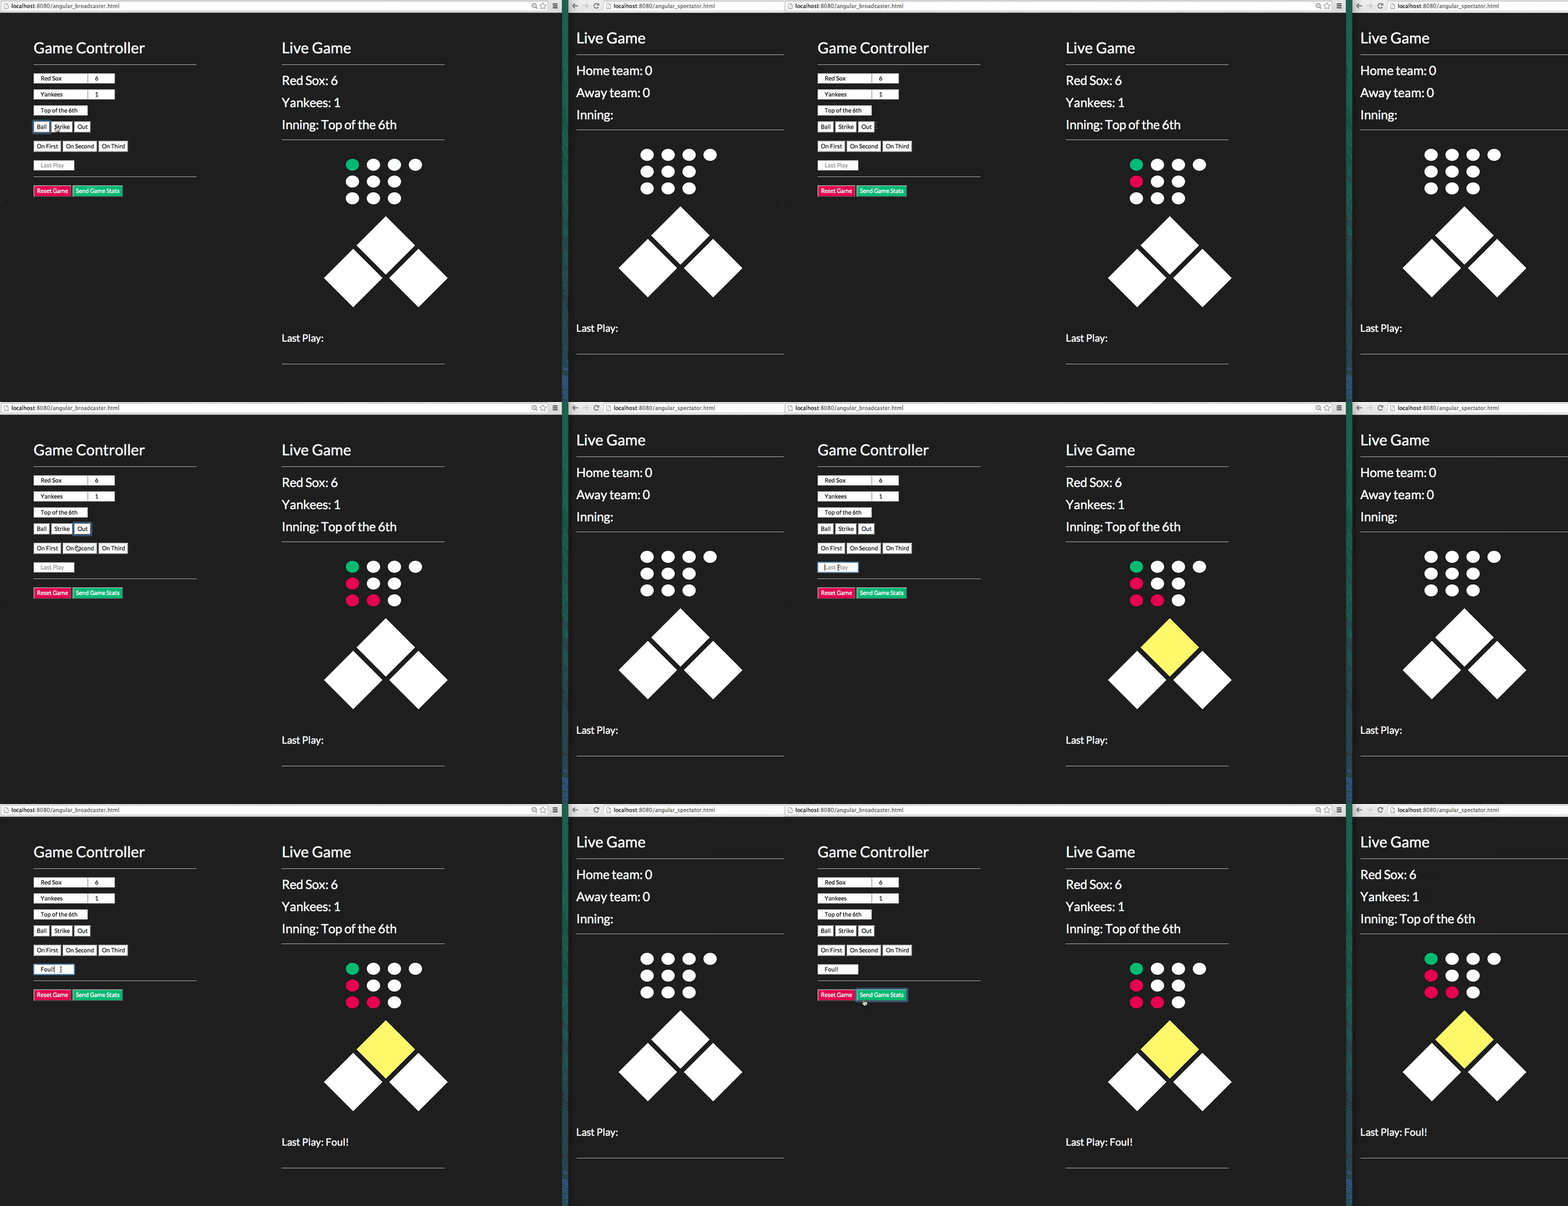
We have a live-working demo that you can play with here. Open up a single gamecast controller, then a couple of the end-user subscriber windows. Push updates and watch as they update in real time!
Onto part two!
AngularJS Gamecast Application Concept
Below is a .gif of it in action. A live-working controller demo and end-user application demo are available here as well.
The concept is the same as our previous broadcast controller tutorial. Anyone with the channel name can view the message!
In general, the game cast will involve a broadcaster updating and sending game data to spectators. We’re just going to build the spectator portion of the application today. We’ll need two files: spectator.html and styles.css.
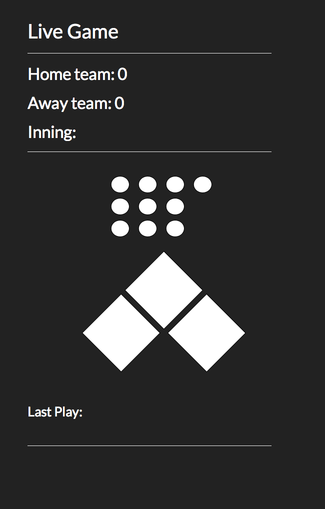
In PubNub API terminology, the broadcaster publishes game data to a channel, and spectators subscribe to that channel. The spectators will be able to view the scores of the home and away team, the inning, the current number of balls, strikes, and outs, and the most recent play.
Part 2: Building the Spectator
The spectator will be able to view the last state of the game sent by the broadcaster. The message is sent in the channel where the spectator is subscribed.
Most of the code is very similar to the broadcaster. We want to include the similar files, styles, and SVG. We can skip all of the broadcaster controls since we only want the spectator to be able to view the game data.
Include Libraries
Include PubNub, AngularJS, jQuery, stylesheet, font, and Bootstrap again spectator.html.
Start Writing the HTML
Declare the PubNubAngularApp in ng-app and name the ng-controller in the body tag so the HTML and JavaScript can interact.
Display a title, team names, inning, and scores.
Game Board SVG
The spectator uses the same SVG as the broadcaster.
Display the last play below the SVG.
Angular Controller and Subscribing to a Channel
Again, create PubNub Angular module, define the controller, and specify the user and channel so PubNub and JavaScript can interact with the HTML.
Initialize PubNub so we can use its methods, like publish and subscribe, for the broadcaster and spectator.
There are a few major differences in the broadcaster and spectator files:
- Spectators need to subscribe to the channel.
- Spectators need to listen for message events sent by the broadcaster in the channel.
- Spectators are read-only, so they don’t have the ability to publish to the channel.
Reset Function
The spectator needs the ability to receive information from $scope.state and $scope.count. We’re almost finished!
Wrapping up
That's it! We now have a lightweight, working gamecast application that works on web and mobile! You can tweak it to work for whatever sport you like. But we can take this beyond the sports world and really apply this broadcast architecture to any application where you want to publish data from one publisher to several subscribers simultaneously.


