D3js is a JavaScript library that lets you bring data to create interactive graphs and charts that run on browser. It is a very powerful tool for creating eye-catching data visualization.
Previously, we created a standard line chart with a Cartesian coordinate system to plot Bitcoin pricing and trading data, which we can take a full advantage of using real-time data. This time in this tutorial, I showcase what you can do more with D3 and PubNub. Let's begin and get more visual with a bubble chart!

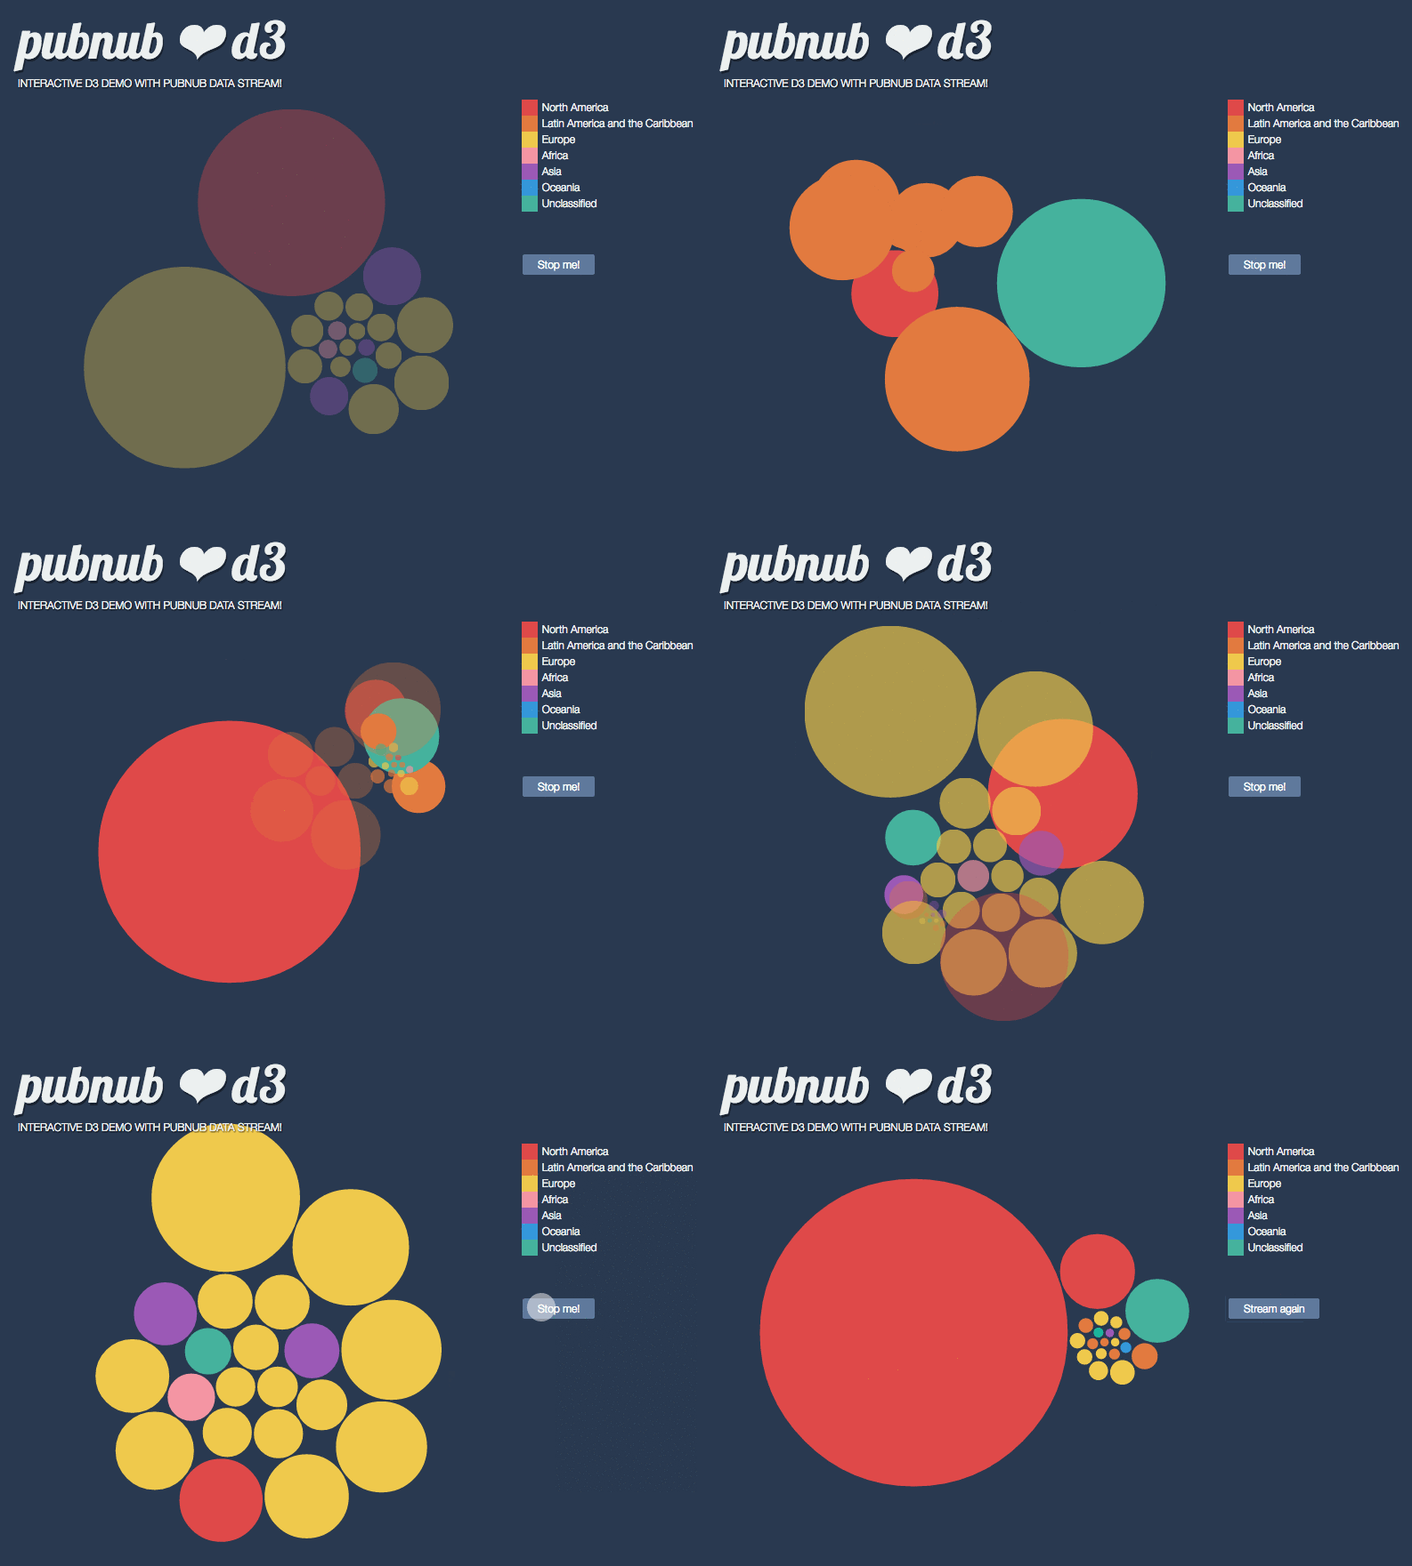
Check it out live and in action. Take a look at our D3js bubble chart demo, or check out all the code in our D3js bubble chart code repo.
Prerequisites
You will need basic to intermediate knowledge of JavaScript Document Object Model (DOM), and basic understanding of SVG and D3.js for this tutorial.
Steps We'll Take
In this tutorial, you will learn how to:
- create a static bubble chart with using D3js
- bind streaming JSON data to the chart
- live-update and animate the bubble chart
1. Create a Static Bubble Chart
A bubble chart is a type of chart that displays data in bubble-like circles. The size of each circle corresponds with the value of data. Although bubble chart is not the most precise chart, you can pack hundreds of bubbles in a area, and the representation is fun and very visually appealing.
Let's get started. Include d3.min.js in your HTML file, then define a layout.
1.1. Use D3js's Graphical Layout
To draw a bubble chart, we create a pack layout using d3.layout.pack() object.
1.2. Work with JSON Data
You’ll first need to sign up for a PubNub account. Once you sign up, you can get your unique PubNub keys in the PubNub Developer Portal. Once you have, clone the GitHub repository, and enter your unique PubNub keys on the PubNub initialization.
For now, we'll use simulated data, which is similar to the actual streaming JSON we will use in this tutorial. Assume the data came from our global data centers, and each data set represents a country, and access volume from the country.
Then, let's customize this raw data to be used in the pack layout. The pack layout is part of D3's family of hierarchical layouts and by default, D3 assumes that the input data is an object with a children array, so it is convenient to return the object looks like, {children: [an array of objects]}.
The className values are to be used to colorize each SVG circle by country, defined in CSS.
1.3. Enter Data into the Layout
We are loading the tailored data into layout object's nodes() function, which automagically populates graphical data (size of each circle and positions) with a set of standard attributes, so all the circles will nicely fit in a chart.
Then, use the generated layout calculations to display in SVG.
Awesome, you've created a bubble chart!
See the Pen D3 Bubble Chart (with Static Data) by Tomomi Imura on CodePen 1
2. Make D3js Dynamic with Streaming JSON
We are ready to replace the static JSON with real live JSON from PubNub Data Streams.
First, include the PubNub JavaScript libraries in your HTML to begin. You can find the latest version of the SDK here. You’ll first need to sign up for a PubNub account. Once you sign up, you can get your unique PubNub keys in the PubNub Developer Portal.
We are using a chunk of predefined set of data here for the exercise, so let's initialize the API with the existing channel.
2.1. Subscribe the Live Data
To retrieve the live data, you simply use PubNub subscribe() API.
Once you successfully retrieve the data from the stream, call the callback function to draw the chart.
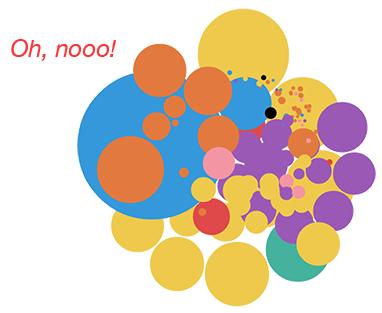
Now, every time a new set of data comes, new bubbles are displayed. However, they keep being added on top of the previous chart. This looks pretty funky, but it is not what we want! We need to fix this.

Instead of entering a new data to a new layout, what you need to do is updating the existing layout with new data. In next step, we are going to modify the d3 data entry.
3. Live-Update and Animate the Bubbles!
OK, let's bind data to elements correctly.
3.1. Assign Each Node with a Unique Name
D3 uses the enter, update, and exit pattern to join data to DOM. At the previous step 1.3, you have enter() the initial data. To make the node updateable, you need to assign a name to each node. D3 takes a key function as a second argument to the data() method. Modify the code to assign a unique field name:
3.2. Create Chained Transitions
Also, at the step 1.3, we celled data(), enter() and append() sequentially. To enter new data to the existing nodes, we are going to update them. This way, each assigned bubble circle updates its size and position correctly, instead of creating a new one with new data.
To make smooth transitions between old and new data, apply a transition only to the updating nodes, and not entering nodes. The trick is to create the transition on the updating elements before the entering elements because enter().append() merges entering elements into the update selection. You can learn more about this on Exit, Update, Enter tutorial.
Some bubbles may be a null in upcoming data set, and need to be removed. We use exit() and remove(). Also giving an opacity (1 to 0) transition to create a complete sequence of chained transitions.
In this example, we are transitioning the position and radius of each bubble upon updating the data, also opacity upon entering and exiting. Moreover, with using delay method along with transition, we are making the animation effect more interesting. Tweak the values and see what works the best.
I hope you enjoyed the tutorial. If you would like to explore this demo, see the entire D3 visualization source code of the demo on Github!
This tutorial was originally published on October 1, 2014 to Developer.com.
