Getting Started with GCM Android Push Notifications

We've updated our SDKs, and this code is now deprecated.
Learn more in our Mobile Push Notification Overview and Documentation.
When building mobile applications in Android (and mobile applications in general), it is tough to think of a use case where we don’t need to communicate with mobile devices to sync data and notify users. If you’re reading this article, this probably sounds familiar!
We are going to talk to you about two technologies that will make your life easier when developing real-time applications for Android.
- Google Cloud Messaging (GCM): Google provides an easy way to implement push notifications for mobile devices running Android.
- PubNub: PubNub has taken GCM one step further and integrated the use of Google Cloud Messaging in its Android SDK. We’ll tell you all about how to get started!
In this tutorial, we'll get started with GCM for Android and how to get started with PubNub real-time mobile push notifications for Android. In our next tutorial, we'll get coding and show you how to send and receive those notifications on Android devices.
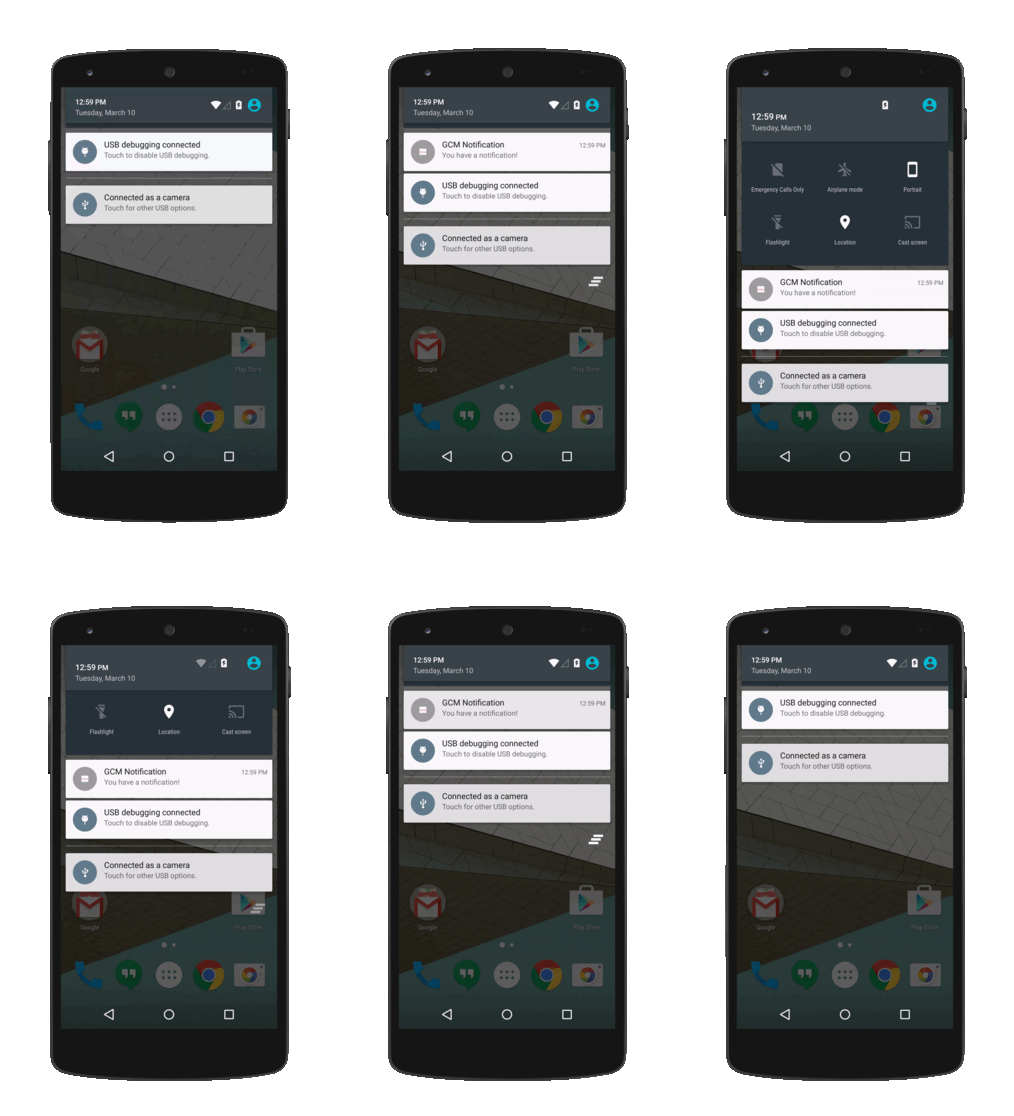
Google Cloud Messaging For Android: The Good Parts
Let’s consider the following scenario. You are developing a real-time sports application which feeds its users with critical news during a game. A key feature to the app would be to send reliable mobile push notifications to the users as soon as their favorite team scores.
 You could develop the notification system yourself. You’d have to take many cases into account, deal with queuing, saving the notification and resend in case of offline devices. It’s long, time consuming and more or less the same system as many other applications.
Google is here to save the day. Google Cloud Messaging takes care of all of these issues for you. It provides you with its service for free too. Sending mobile push notifications suddenly becomes so much easier!
Note that this service is only available for small messages to the client applications: 4096 Bytes is the limit, so only lightweight information can be sent.
How GCM Works
Google’s system considers 3 parties:
- The client application
- Google’s GCM servers
- your 3rd party server
When an user installs an application, it must register itself to enable GCM. Once this is done, as soon as you decide to send your users a notification, a succession of actions will be triggered:
- Your 3rd party server sends the push notification to google’s GCM servers.
- These servers relay the message to all your registered mobile applications.
- Messages are enqueued and stored for devices that are offline.
- As soon as a device comes back online, GCM servers relay the queued message.
- The messages are received and presented according to the platform-specific implementation.
Pretty cool, but there's a fair amount of engineering work that goes into setting up a GCM service. But overall the service is quality.
PubNub-GCM Integration
Obviously, once you are using PubNub Data Streams, you are already communicating in real time with all of your devices – but if you want to send push notifications for a native Android experience, GCM is a great ally.
 PubNub has an easy integration with GCM. The PubNub channel replaces the third party servers which send these notifications to Google’s GCM servers. You may have any registered endpoint send a mobile push notification to your connected devices.
Coming back to the sports news app example, you can have your sports critic send the score in real time from his phone and trigger a mobile push notification to the rest of the audience’s devices. PubNub makes it simple – additional servers that you have to operate can be ruled out of the equation!
This allows the application to send mobile push notifications to devices registered on specific channels in no time. It combines the native Android Notification API from Google with the real-time data stream network of PubNub. Your notifications will be natively understood by any Android device. If you already have GCM on your application and are considering using PubNub, you’ll hardly have to change anything about your app, most likely removing code!
Getting Started with PubNub and GCM
Let’s start with getting you up and running.
You will need to follow these steps:
- Start a new project and register it in Google’s developer console
- Sign up for a free PubNub account and get your publish/subscribe keys from the Admin Dashboard.
- Add mobile push notifications to your account
- Start coding!
Google GCM
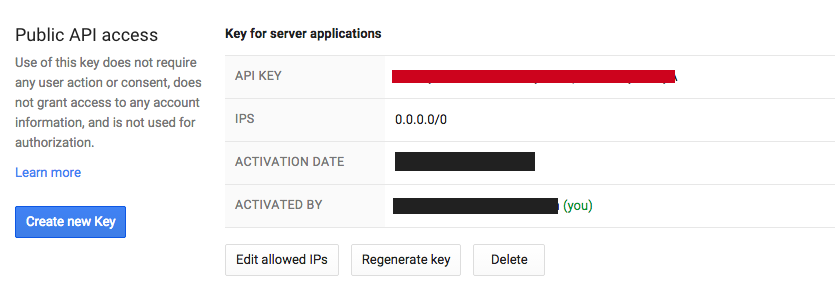
First step, head to the Google Developer Console. Open an account if you do not have one and follow these instructions. The two pieces of information you’ll want to keep are:
- The project number (not the project ID)
- The server API Key

All set?
Getting Going with PubNub
Now let’s head out to PubNub to get started. Sign up for a free PubNub account and get your publish/subscribe keys from the Admin Dashboard.
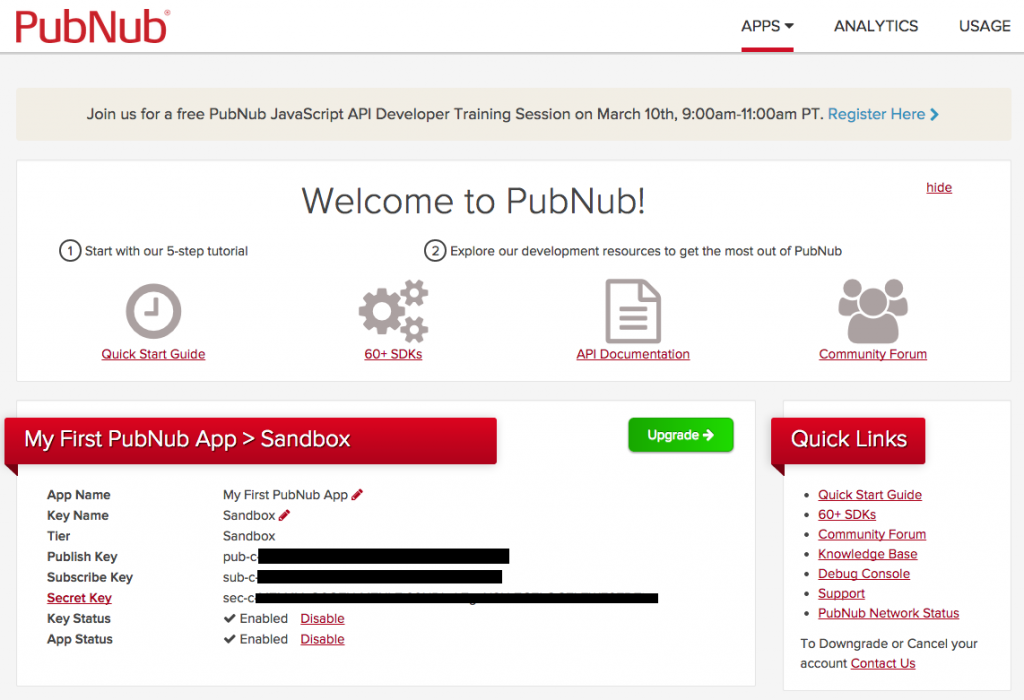
Next, you’ll also need to enable Mobile Push Notifications. Scroll down the page and add the option to your account.

You will be asked to provide the Server API Key provided by Google.
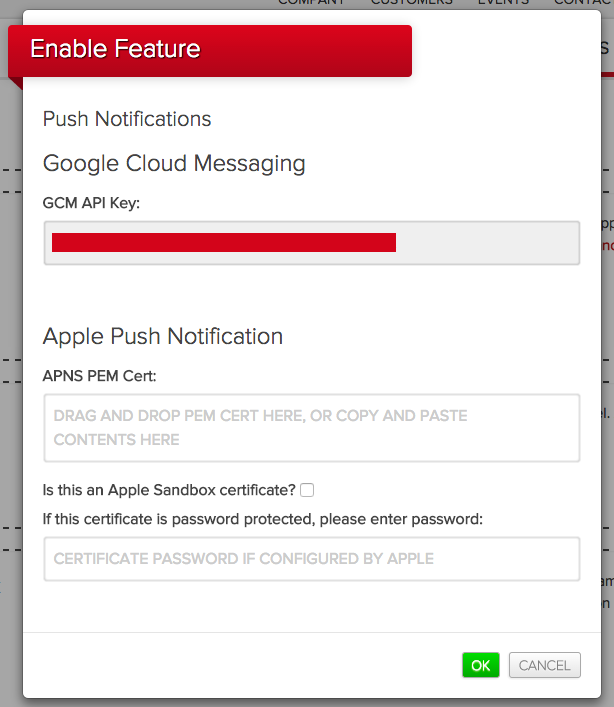
This is the key element which allows your PubNub channels to send notification requests to GCM servers.
That’s it! We are ready to roll!
You can start your Android project now!
Creating a New PubNub GCM project
You’re almost ready to start coding, let’s just make sure you have all the correct dependencies to start!
To add pubnub to your project, clone the git repository:
git clone https://github.com/pubnub/java.git
You’ll need to copy to your project 2 of the libraries found in the repo:
- java/android/Pubnub-Android-3.7.2.jar (or the newer version)
- java/java/libs/bcprov-jdk15on-1.47.jar
Next, you’ll need to add the Google Play SDK to your application. Follow these instructions.
And that's it! We're ready to get coding and start sending push notifications to Android devices using GCM and PubNub.