How to Broadcast Chrome Push Notifications in the Browser
Note: Google no longer supports this feature. You can still use our Publish/Subscribe Messaging API to display push notifications in Chrome.
Most of the time when we think of push notifications, we think mobile. But desktop push notifications are just as important. In this blog post, we'll show you how to make a Chrome Extension that broadcasts chrome push notifications to desktop users in real time.
Chrome Extensions are simple utility apps you can easily add to your Chrome browser. Some of the well-known extensions like Ad-Block (removes internet advertisements from webpages or even videos players) are so famous that they have millions of active users.
Because they are light-weight and easy to access, developers who want to deliver a simple feature to wide audience through a platform like Chrome Webstore should be interested in developing Chrome Extensions. While writing a Chrome Extension is usually relatively easier than developing a native mobile app, a chrome extension can be just as much powerful.
Here's a scenario: a professor who teaches Computer Science at PubNub University finds it boring and inefficient to tell students something through emails, and decides to do it with his own Chrome Extension. He is also tired of students making up excuses like “The email went into my spam folder.”
With his Chrome Extension, the professor can broadcast Chrome push notifications to students in real time.
Getting Started With Chrome Extensions
If this is your first time building a chrome extension, this tutorial provided by Google might be useful, but if you just follow along the blog post you should be fine.
Let's get started. This is going to be the basic structure of our Chrome Push Notification extension.
All Chrome Extensions require a manifest.json file that specifies what the extension does and what it requires to work. Let's look at our manifest.json file.
It specifies various requirements of Hello Students extension. The critical parts are permissions, background and browser_action. We need to have notifications and https://*.pubnub.com/* in permissions to allow the extension to use PubNub JavaScript SDK, and built-in Chrome notification. Otherwise, you won’t be able to make JavaScript calls outside your chrome extension for security reasons.
Browser_action specifies what will happen when the user clicks the browser icon(on top right of your browser). In this case, we specify that a popup will open, and it will display what’s included in popup.html. We don't really need a popup because the Chrome Extension is only used to receive messages from the teacher, but let's just have it as a placeholder just in case you might want to expand it to have some other features later on. What's interesting should be the background.html.
We are going to subscribe to a pubnub channel in the background to get a notification every time we receive a message from the teacher. As soon as the teacher broadcasts a message through the channel, using his own client, we will see a notification box in our browser.
Subscribing to Channels
Let's first set up our PubNub keys, so we can subscribe to a channel.
You’ll first need to sign up for a PubNub account. Once you sign up, you can get your unique PubNub keys in the PubNub Developer Portal.
in pubnub-setup.js:
Get your PubNub subscribe_key from your user account, so you can subscribe to a channel. Your subscribe key is available in the Developer's Portal, and you'll receive your keys when you sign up for a free account. With our setup, we will be able to set up a system where we get notified every time there is something new in the “test” channel.
Let's do that in a new file called notify.js:
It's done, as simple as that! We subscribe to a PubNub channel so that every time we get a new message in the channel, we can do some action. The action can be anything, but we will stick with displaying a browser notification to serve our purpose for now. Since we have both pubnub-setup.js and notify.js, let's include the source files in background.html
This is our background.html:
When the chrome push notification extension is first loaded, everything will be initialized accordingly. Powered by PubNub, with only a few lines of JavaScript, we are already ready to receive messages from the teacher!
Let's make a teacher's client now so the teacher can broadcast a message. The client can be just a simple page that also uses PubNub to publish messages. Although the client is not part of the extension, for the sake of convenience, let's create a client.html in the same directory as HelloStudents, so we can re-use the PubNub libraries.
in client.html:
Publishing Desktop Push Notifications
We publish what we want to display in a notification. The fields iconUrl, type, title, message are required arguments for chrome.notifications.create method, so don't forget to add them all. When you press the “Send” button after typing something into the input field, all the users(students) who are using Hello Students extension will see a notification immediately in their Chrome browsers.
Wait, we forgot to do something!
Although we can use the same libraries that we used in thee xtension for the sake of demonstration (in production, your students will have packaged Chrome Extensions and only you will have access to the client.html), we need a PUBNUB publish key to our existing pubnub-setup.js. But remember, in production, the pubnub-setup.js file for client.html and the chrome extension should be different. We are only merging the two here just for convenience.
pubnub-setup.js will look like:
Then, we can start publishing to the channel and all the users who are using the extension will see a notification every time there is a new message. Now that everything is ready, let’s see it in action.
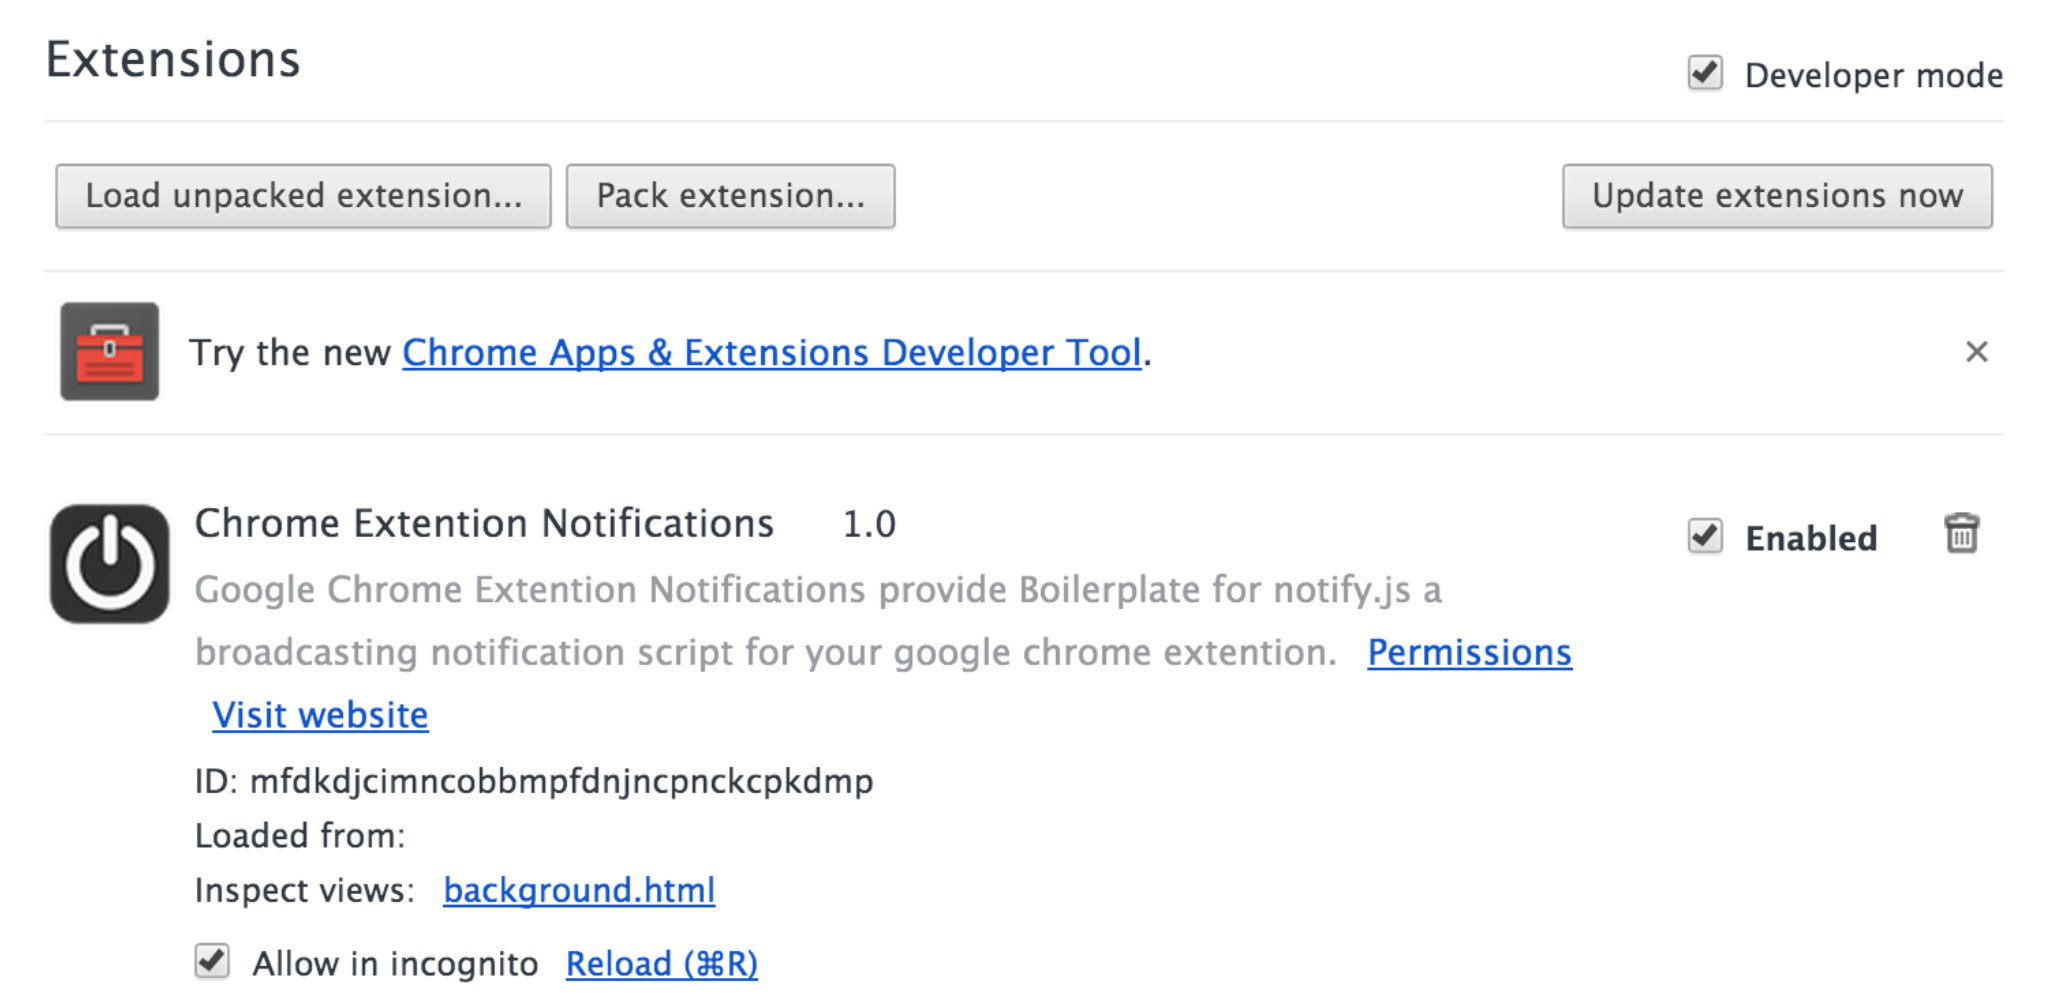
First of all, load your extension from Chrome. Go to chrome://extensions/, and activate “developer mode” on top right, and click “Load unpacked extension” to select your HelloStudents directory. Then you will see this:
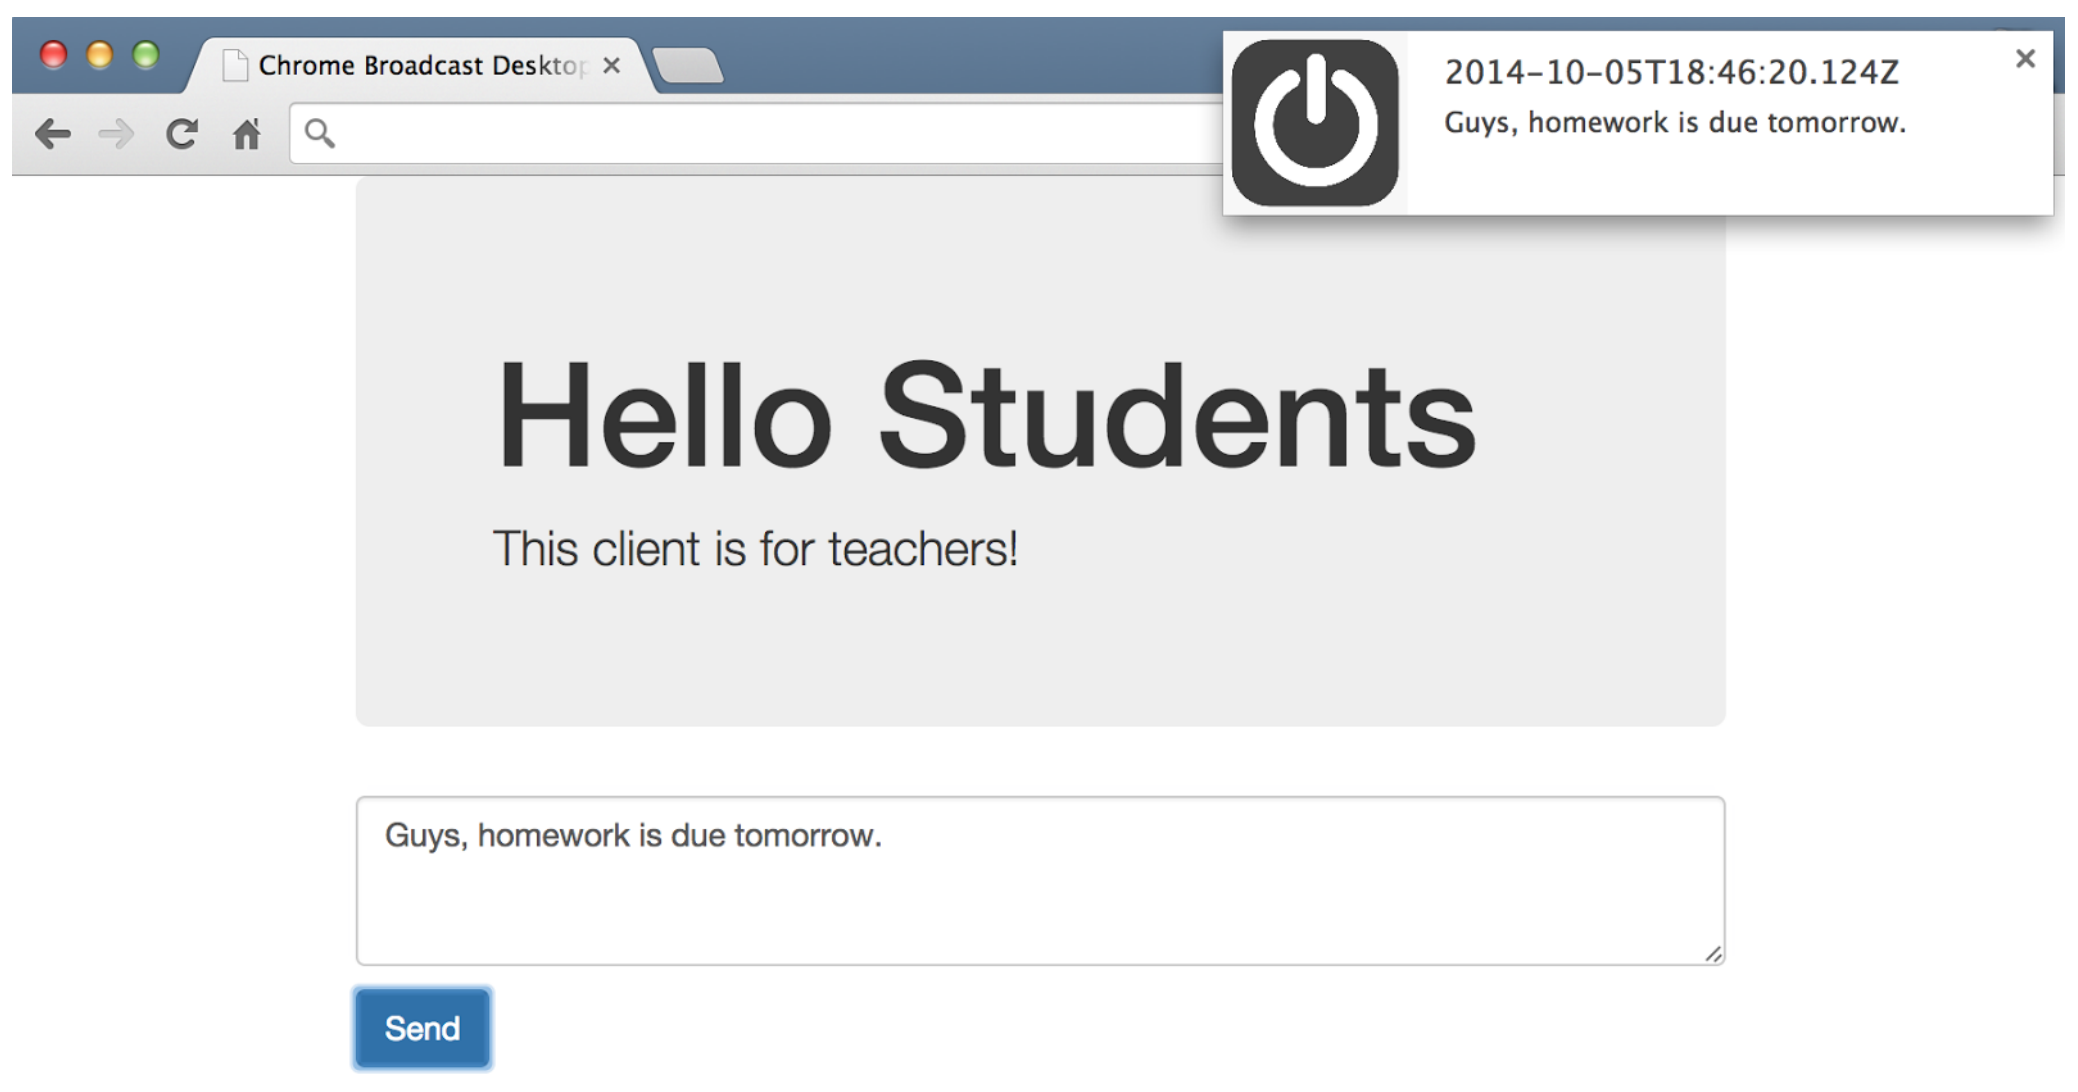
You have successfully installed your extension this way. Let’s open a client.html to see if you really get notifications. Drag your client.html to Chrome or just double-click it to open it.
Type something in and click Send. See what happens next!
It works! There are more things you can do with chrome.notifications module. If you want to add a button to the notification so the students can respond to your message, you just need to modify your message parameters a little bit.
in client.html:
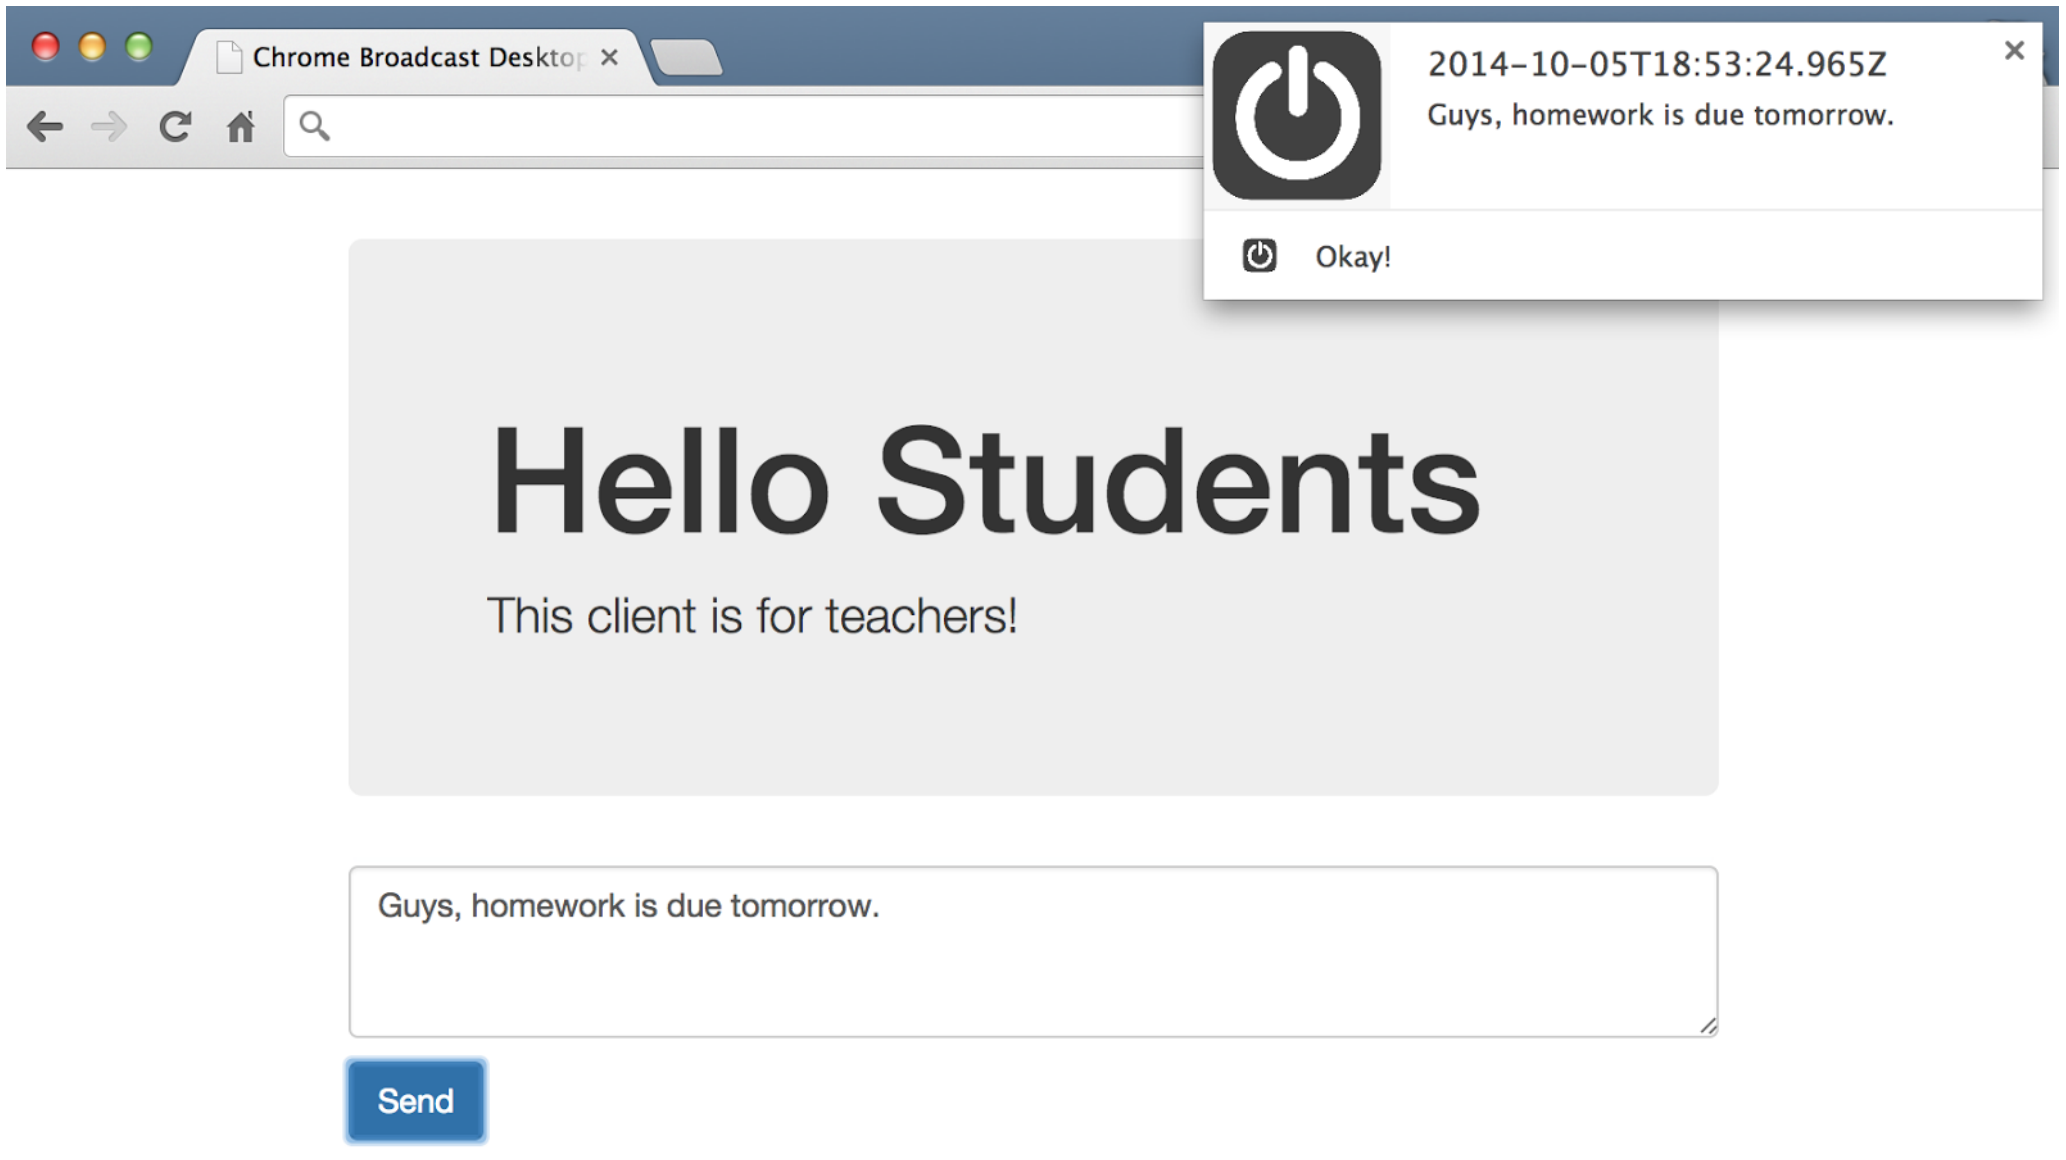
Let’s see how the notification looks like now:
The button appeared. However, it would be useless if the teacher didn’t know whether a student clicked the button. We can slightly modify notify.js inside the chrome extension to solve the problem.
It’s done! Thanks to PubNub, we could create a simple and powerful broadcasting Chrome push notification extension with only a few lines of JavaScript, HTML and CSS. Developers who are already familiar with Chrome Extensions will instantly notice that the above example can be expanded to various use cases.
You can monetize your already-existing extension by periodically pushing ads to users, or you can conduct simple surveys without having to collect user emails. I hope you find this useful, and feedback is always welcome!


