Displaying Vehicle Data with Automatic and Mapbox API (Pt 2)
Welcome to Part 2/2 of our tutorial on building a connected car application using the Automatic API and PubNub. If you haven't yet, go back to Part One and go through that tutorial first. It covers how to set up Automatic, Heroku, and how to collect and stream the Automatic vehicle data in real time.
In this tutorial, we'll cover how to receive those real-time vehicle data messages and display them on a map in real time using the Mapbox API. Even better, you can take this tutorial and tweak it to receive any Automatic data stream and display it however you like.
You can download all the project code here.
Part One employed a custom application on Heroku to communicate with Automatic’s API. Though we will not review the Heroku app in this tutorial, it is important that you create your own app based on the previous article. This is so that you’ll be able to authorize your custom application to use the Automatic credentials given to you in their developer dashboard. At the end of this article you will be able to create an app that displays some information sent via Automatic webhooks.
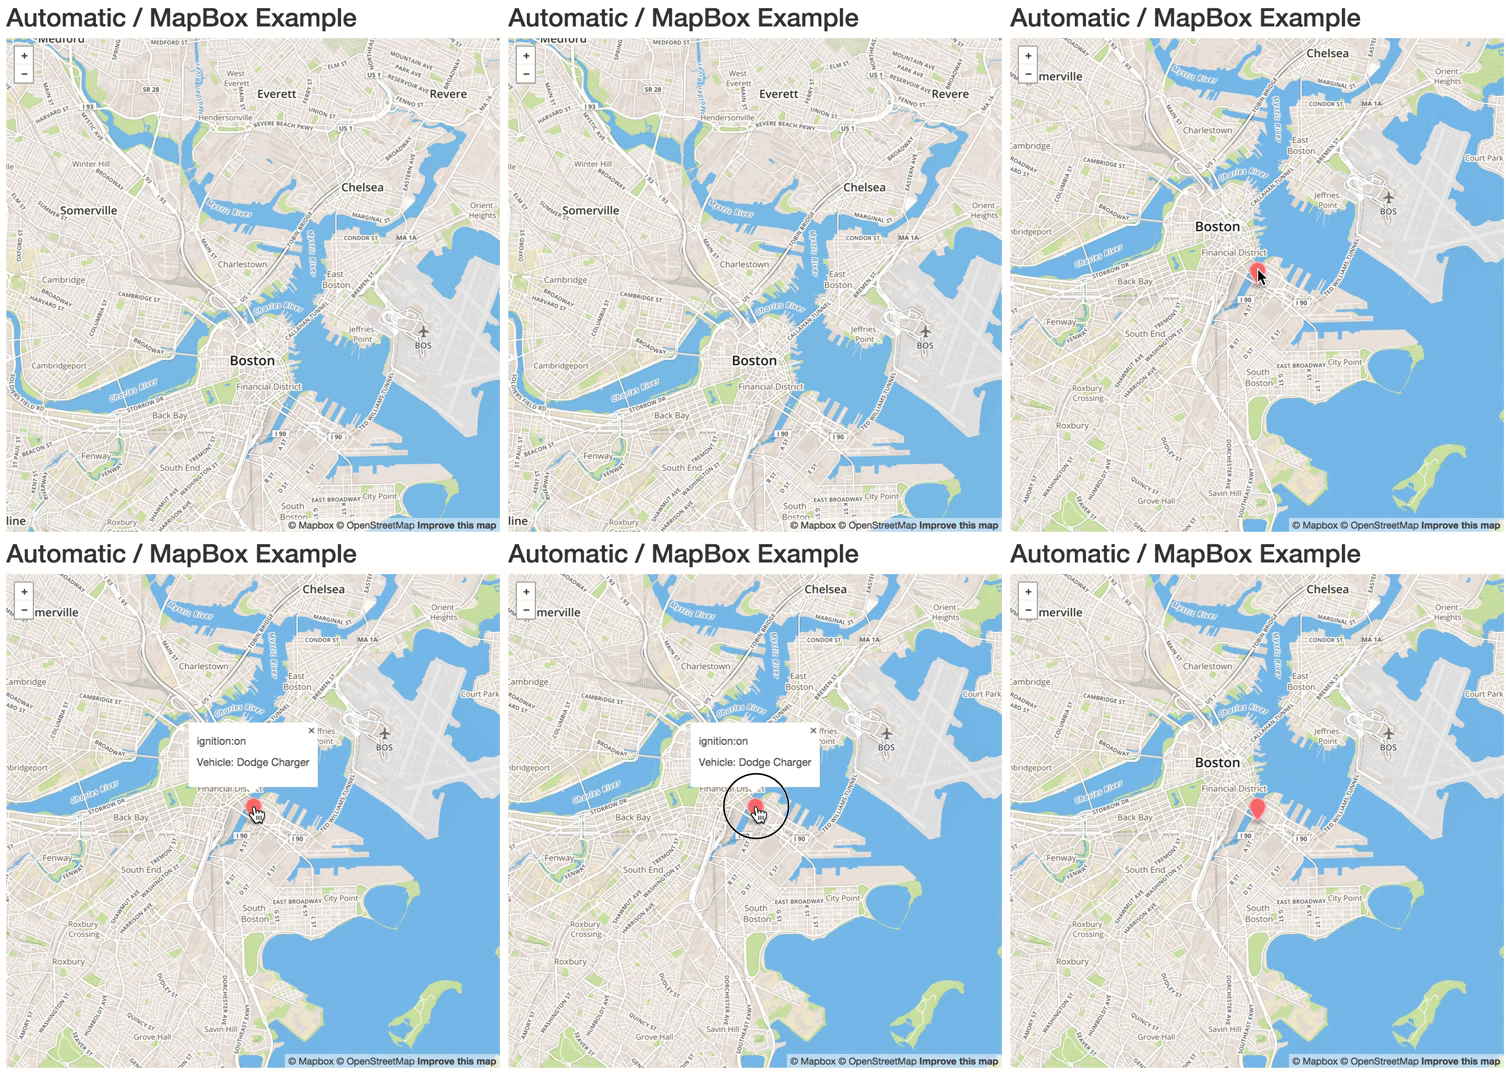
Here is a preview of what we're making:

Changes to the Node.js Code
The code has changed a little bit since Part One. The Node side of the app has been expanded for script-loading. First npm install coffee-script.
Add the snippet below to index.js for Node’s file-system and CoffeeScript support.
In index.js can load the main css file by via http://localhost:5000/app.css:
The same goes for any coffeescript file. Using this code CoffeeScript will be transpiled to JavaScript. It’s then sent as a response with the proper media-type header.
Jade
Now expand on the Jade views. The example code uses a template.jade as a parent template. It is used similarly like an abstract class in Java.
In layout_template.jade you put all the content that would go in your index on a single-page app.
Then your index.jade can become as simple as:
There’s no need to include those pesky script tags! Note that app.css has been included here using the link/app.css. As noted earlier this is coming from the Node side of the app.
Mapbox API

Starting with the Mapbox Jade will be easiest:
This is the only code inside app.css. Alternatively it could be put as in-line code.
map_box_example.coffee
In the ‘js' folder, you’ll need to create your example coffee file.
To allow all functions to have the necessary variables in their scope, declare them at the beginning.
Latitude and longitude will be used to determine the location of the event. Map and marker are used by Mapbox. NotificationType and vehicle will come from your PubNub message.
Initializing PubNub is a breeze in this case. It is very similar to the Node setup.
The message object that you access is the same one sent from the Automatic Dashboard. If you have any issues, right click and inspect element to view the dev console in your browser. This will help you explore any objects logged to the console.
The main method sets-up Mapbox:
The Mapbox code uses your initial coordinates given by the browser.

Seeing the Data in Real time
Now that everything is hooked up, you will be able to simulate some events. Automatic Dashboard. Here you should have your registered app.
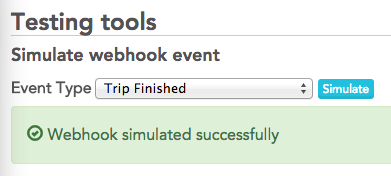
Using the test webhook section, start simulating some events.

With every simulation a new location should pop-up. You can click to see the basic information you coded into the app! That’s it! Now you have your very own live-event receiver. Anytime your app receives an event via webhook it will be displayed on this map.
Real-time Connected Car Applications
The sky's the limit for connected car. Automatic is a great use case for monitoring and streaming vehicle data in real time, but there's even more we can do with PubNub. In the video below, see all the real-time features you can build into your connected car application, and check out all our Internet of Things demos here.