Streaming Vehicle Data in Real time with Automatic (Pt 1)
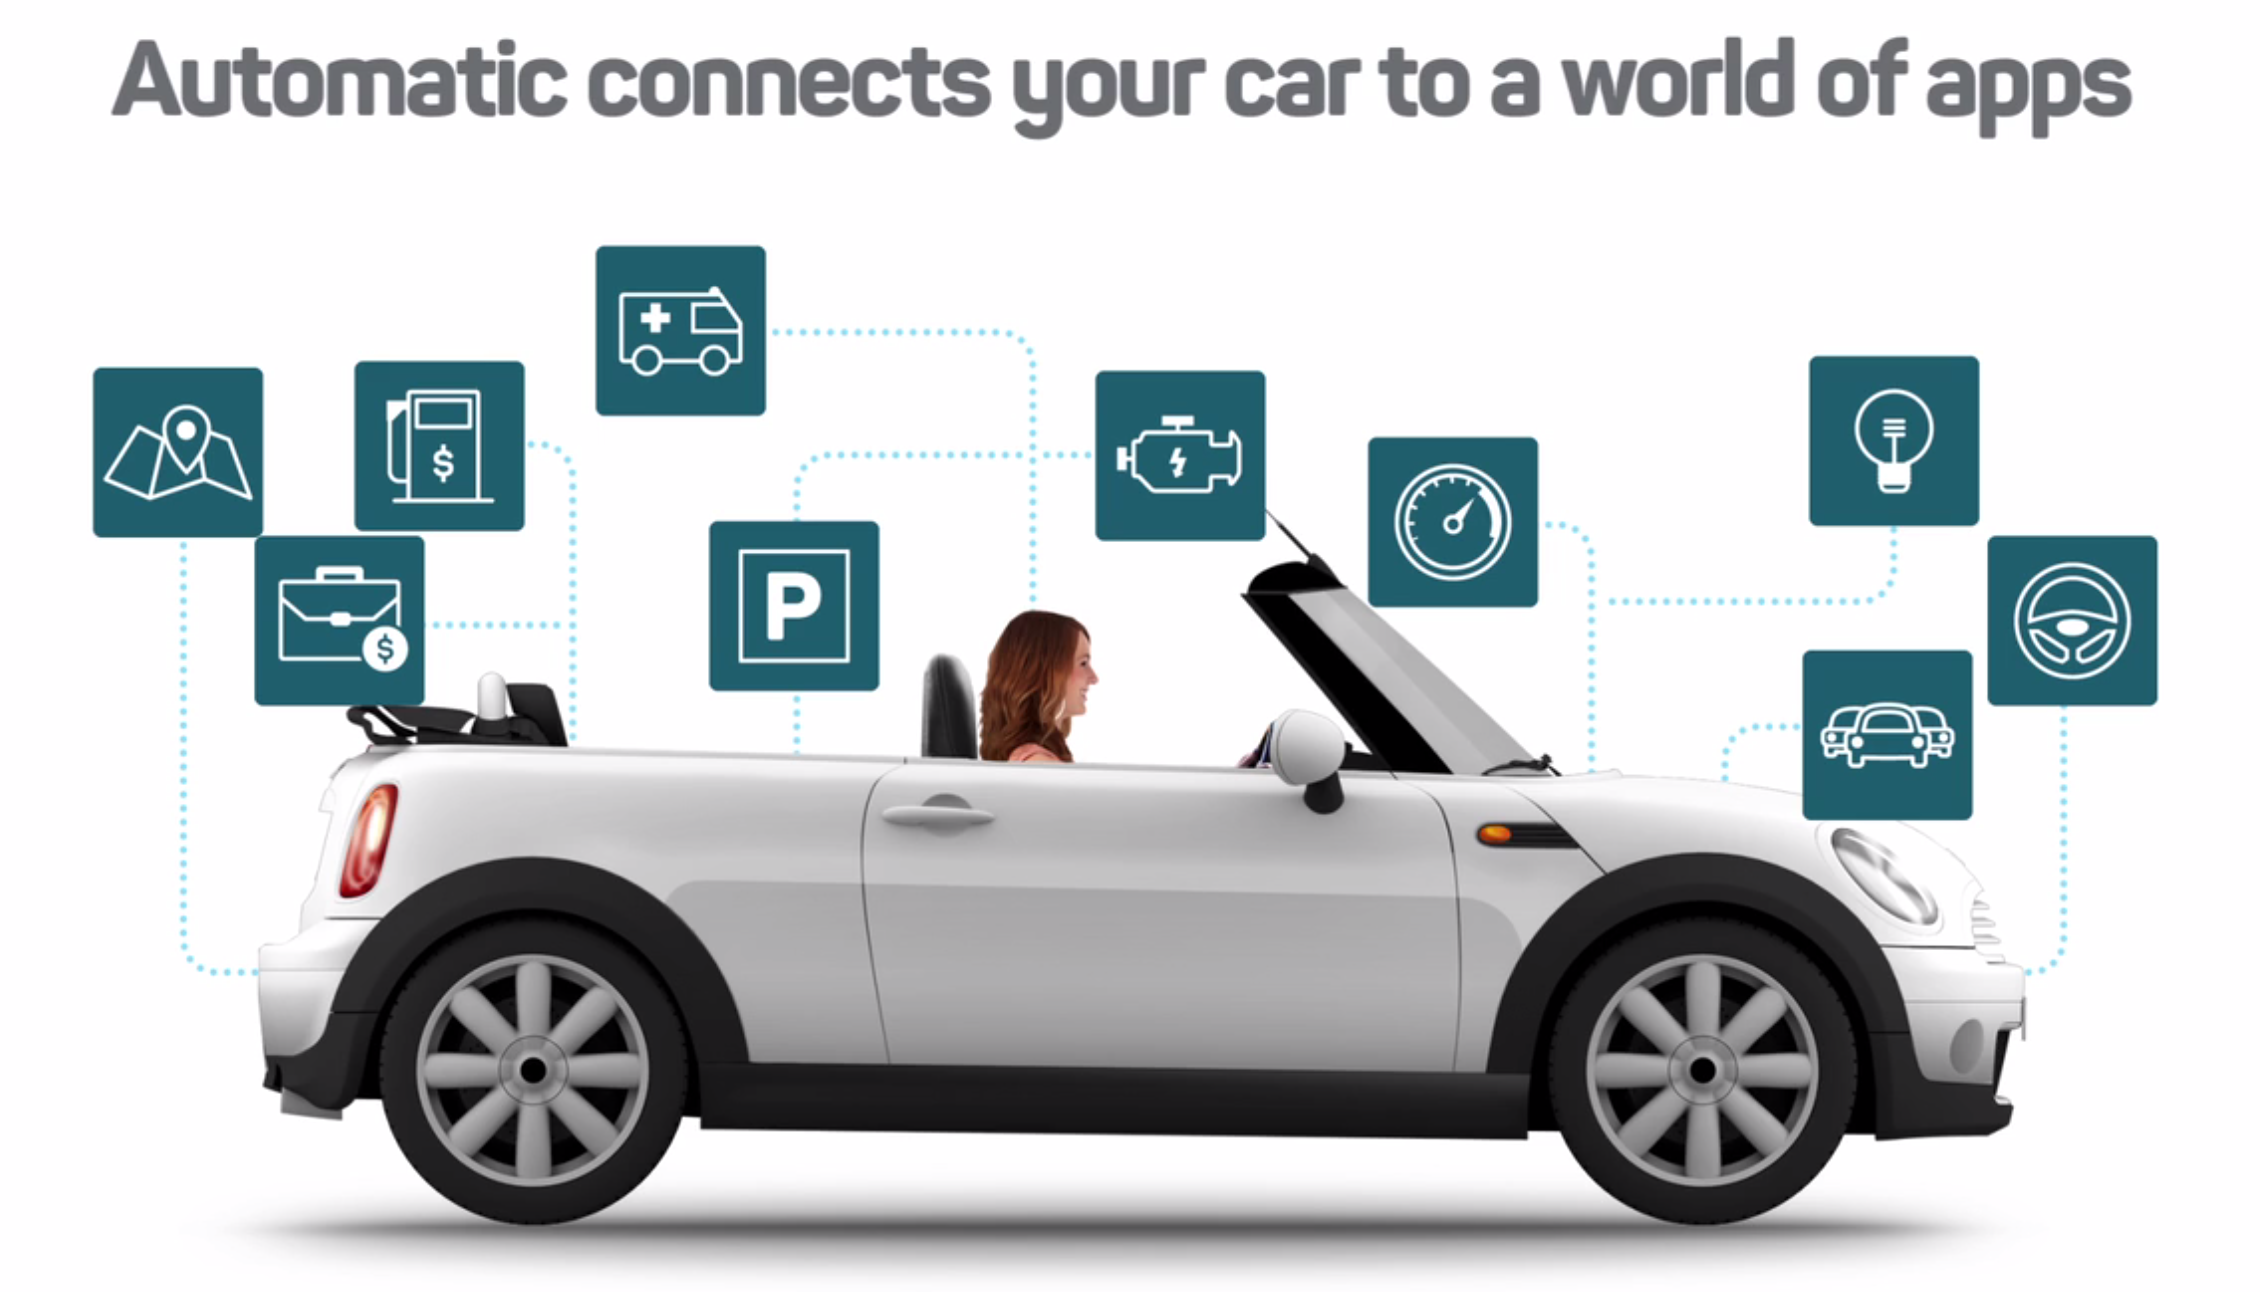
 In correlation with the exponential growth of connected car are a number of dynamic and innovative connected car applications, both on the hardware and software playing fields. One of the first entries into the consumer connected car space is Automatic.
Automatic is a small (about the size of a memory card from a late 90s gaming console) adapter that costs about $99 and fits into a car's Onboard Diagnostics (OBD-II) port, connects to your iPhone or Android phone via Bluetooth LE, and sends data in real time about events happening onboard your vehicle.
You might not realize just how much information your car is processing every second. Take a look at the possible parameters here. It's an engineer’s dream.

While not all of the OBD-II information is readily available with the use of Automatic, you can still pull useful event data. For example, you transmit a message automatically if your check-engine light came on. You could probably make a program that signals the nearest repair shop if the check-engine light signals a critical failure in the engine. Similarly, Automatic publishes events for common events like “engine on/off”, “hard brake”, “hard acceleration”, and “over speed (70mph)”.
In this blog post, we'll show you how to collect connected car events through a Heroku app. We'll then show you how to transmit those events in real time via PubNub. After this blog post, head over to Part Two to receive and publish the Automatic data.
You can download all the project code here.
Getting Started with Automatic
There’s two ways to get started: The user-way and the developer-way.
As developers, we’ll take the tougher road. First, you need to download the app on your phone for iOS or Android (there is no way to sign-up in your browser). Here, we'll sign up and create an account Once, you’ve signed up, you’ll need to sign-in.
Now that you have the app, it’s time to get an API key. Go to the Automatic Dashboard and select ‘my apps'. This gets you to the developer page, which tells you to email Automatic developer support for a key. Email them, but keep going. It’s not going to stop you from creating the app.

Plug it in!
Time for some action. Grab the Automatic device and find your car, (make sure the ignition is off) and plug it into the port, which is probably under your steering column.
You need to set up Automatic by using the app on your mobile phone. Just follow the instructions, and please don’t do anything other than the given instructions or you may run into a bug. Now you have your very first smart car!
What Automatic Can Do
This project’s scope is limited to web hooks. That means Automatic sends your url a JSON message when a specific event happens. What are those events? The type-of-webhooks are listed on their developer site.
These webhooks are currently available for use – there will likely be even more in the future as Automatic and cars' capabilities increase. While you let your imagination run wild with ideas of grand apps, take note of the Automatic’s JSON format. You’ll be using it in the future.
Heroku
Heroku makes it really easy for you to get started. Sign up your account. Download the heroku toolbelt.
The easiest way to get started is well-documented: Getting Started with Node.js on Heroku. This step-by-step instruction will keep you away from frustration. Start with the base node-js-getting-started. It’s better to start simple with Heroku and then build upon that simple base.
Express
Now that you've gotten started with Heroku, we're ready to move on. You have a simple heroku app launched and you know the url for that app. Let’s dive into Express and add some middleware.
You need morgan for logging and body-parser to parse JSON responses. The code example has also has the jade view engine instead of HTML. This is a matter of preference.
Routes
Now that you have the bare bone app, it’s time to set up some routes. The webhook route for events will need to be registered with Automatic. You’re going to have to email them again.
You need the webhook route to be http://<yourAppName>.herokuapp.com/webhooks
Every time one of the webhook events is sent, it will be an http POST to the specified url.
Set up your /webhook route in express.
PubNub: Real-time Data Streaming
Next we'll integrate PubNub. We'll use PubNub to stream (publish) the data (in this case, vehicle events) in real time. Type npm install pubnub. This will install pubnub as a node module. This way we can require pubnub and initialize.
To get your unique publish/subscribe keys, you’ll first need to sign up for a PubNub account. Once you sign up, you can get your unique PubNub keys in the PubNub Developer Dashboard. Our free Sandbox tier should give you all the bandwidth you need to build and test your app with the PubNub API.
Now that PubNub is initialized in the app, create your own publish method.
You’ll need to use this method everytime a new event comes in via webhook. Connect the method in your app.post as such:
Let’s test it out to make sure it’s working
If you’re watching the server log, you should be able to see the console.log callback from your publish method.
OAuth2 for Automatic
To be able to access the account information, whomever is using the app needs to authorize the permissions. Automatic gives you instructions on how to manually do OAuth2.0. We’re going to make it a bit simpler by using a few node modules.
First you’ll need these:
npm install express-session
npm install simple-oauth2
Session allows you to easily store an in-memory session. Simple-oauth2 allows you to simplify the developer portion of OAuth2.0.
This is where you instruct Express to use the session.
This is how OAuth2 should be configured for automatic.
Then you also need to specify the scope of this application’s permissions.
You must also configure your redirect url, which is set in the automatic developer console. This redirect url should be used to get the access token. This is /main in the example code. You should borrow that code.
Launch Time
Time to deploy the app. Once you’ve set-up and pushed your app to Heroku you’re going to want to use heroku ps to make sure the app is up. If the app crashed check out why with heroku logs.

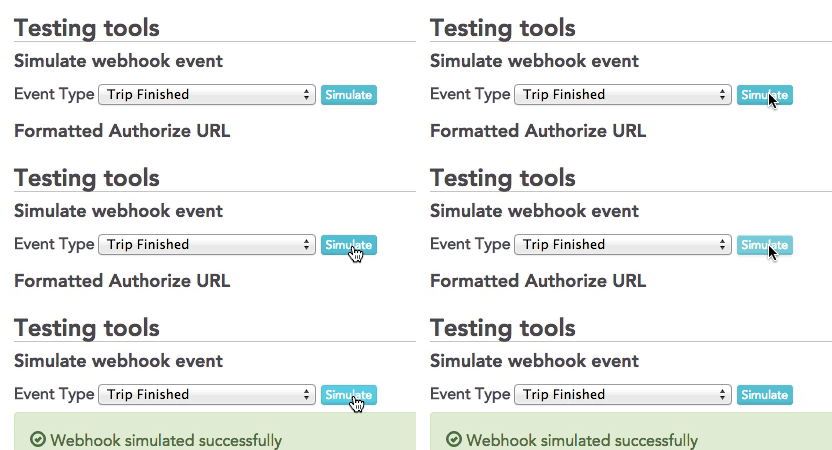
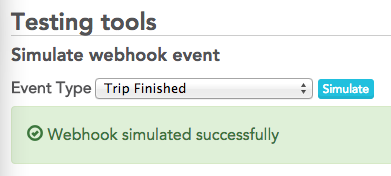
When the app is up and stable, and you have Automatic’s Developer Console open, you can test it out. The ‘client' folder in the example code has two views. One for the homepage and one for the redirect from OAuth2. The button on the homepage redirects the user to authorize Automatic’s app. This is necessary for the webhooks to work. With a successful authorization you should be able to test the webhooks in Automatic’s Developer Console.

If you’re listening to ‘automaticChannel' with PubNub, then you should see a very long JSON appear in the channel.
And that's it for this part! In Part Two, we'll show you how to receive the streamed vehicle monitoring data and display that data in real time using the Mapbox API. However, in Part Two, we can receive any Automatic event and display it in real time.