Turn Your Phone into a Motion Controller with Polymer
With a real-time, bidirectional data channel, we have to the power to make our devices interact with one another. As a result, this has opened up the doors for more interactive experiences. Think of the Wii, Playstation Move Motion, and Xbox Kinect. These gaming technologies let users use a motion controller to connect real life movement to gaming motion.
We want to do the same with a smartphone and a computer, more specifically a web browser. In this blog post, we'll show you how to use PubNub and Polymer to bridge that gap by turning your smartphone into a Material Design gamepad, a motion controller for real-time gaming experiences.
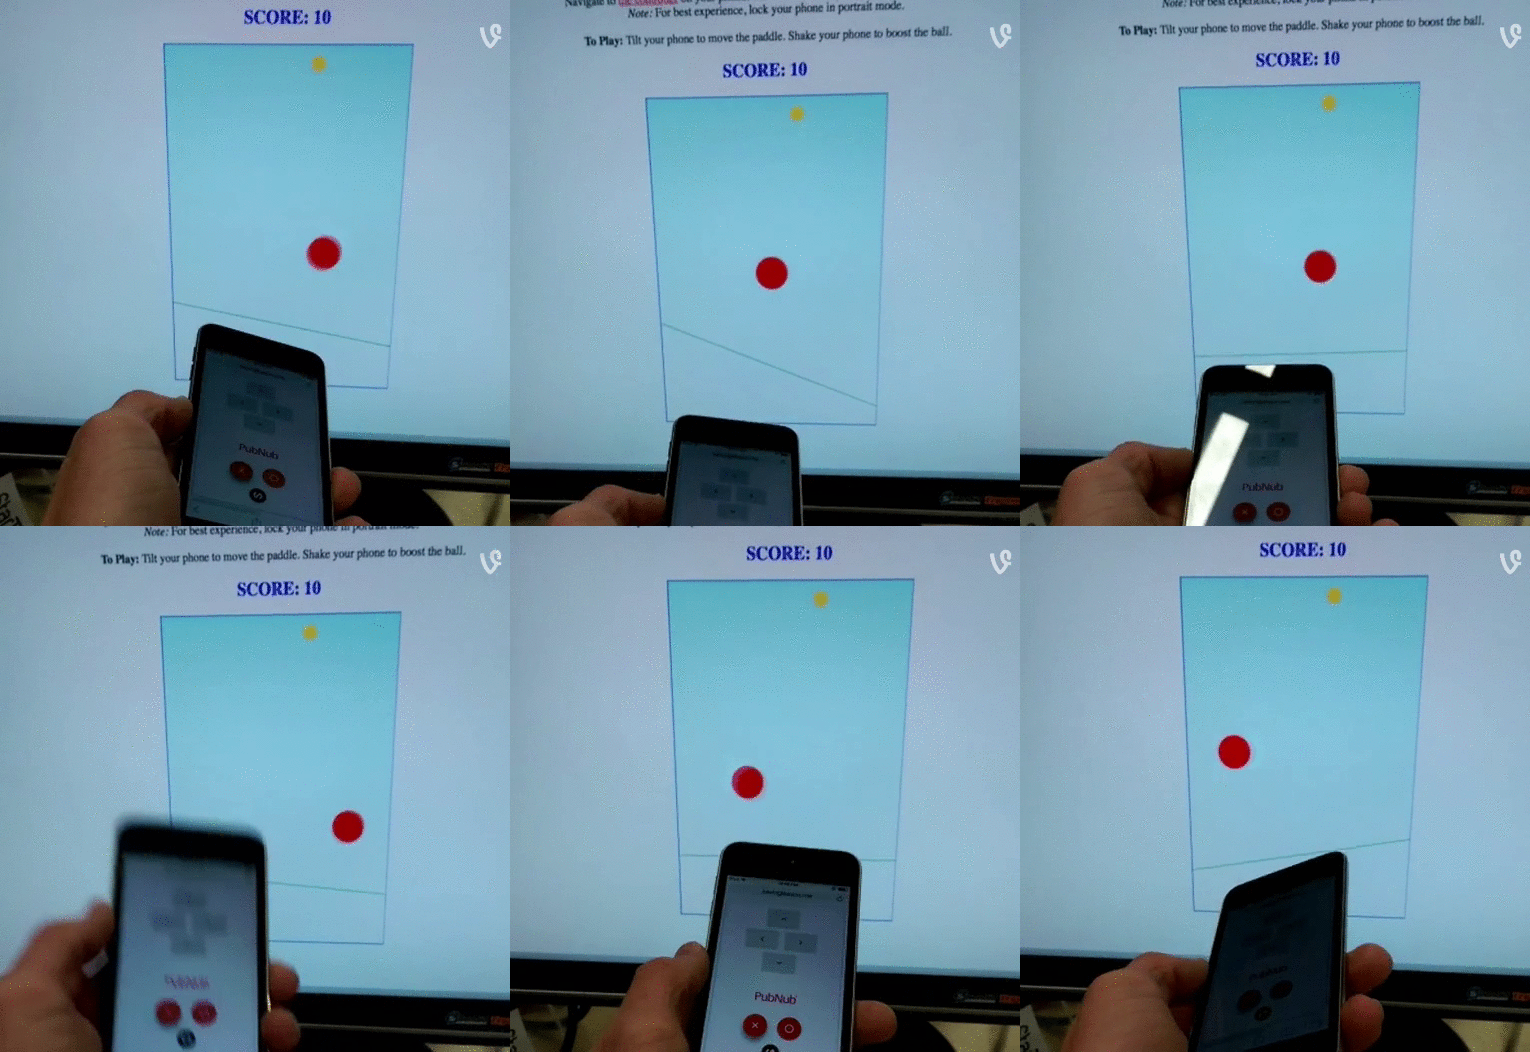
The live demo of PubMote can be seen here. Navigate to the controller on your smartphone and to one of the demos on your desktop.
In this blog post I will show you how to create your PubMote and how to use it for HTML5 games. Your gamepad can have any design you want, with any features. Trackpad, buttons, accelerometer, anything goes. The PubMote I cover in this guide will have four arrow keys, a bar that tilts with the accelerometer, and three action buttons.
The full code repository for the project is available here.
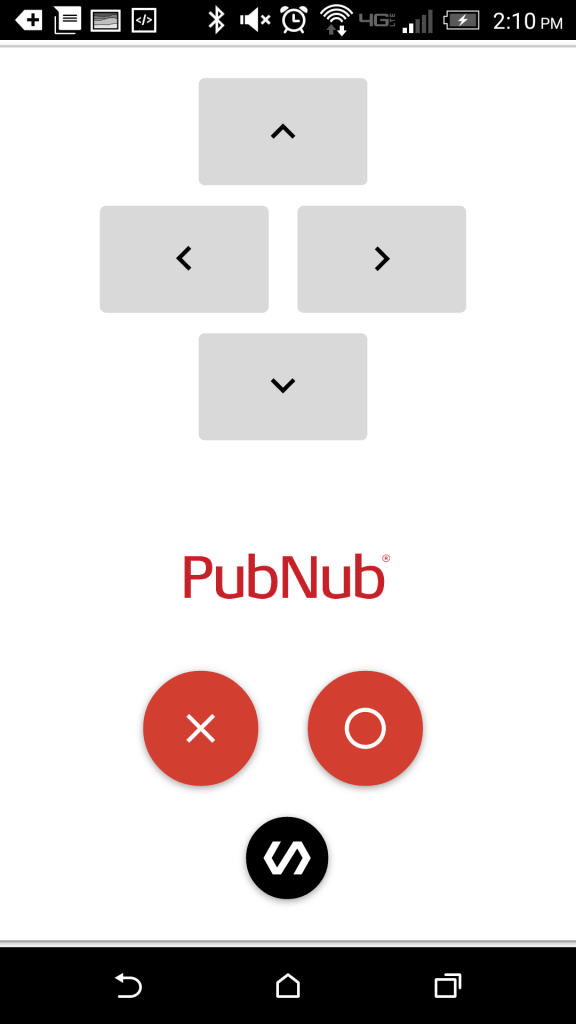
At the end, your controller will look something like this:
Prerequisites
- Basic knowledge of Polymer
- Basic understanding of Bower package management tools to install and manage dependencies of Polymer component files is helpful, but I will walk you through it.
Polymer and Material Design
Polymer provides an interesting way to go about web development. It is built on top of a set of new W3C platform called Web Components. This standard allows you to use both pre-made and custom blocks of HTML to build a larger webapp.
Before one of these building block elements can be used, you must first import it. A typical use will look as follows:
Polymer comes with many pre-made elements, all of which follow the Material Design standards that were created for Android 5.0 Lollipop. The material design elements that come with Polymer are called Paper Elements, and they are responsive to different screen sizes and devices.
1. Creating Your Material Design Gamepad
Let’s begin designing and developing our gamepad. First, we need to install Polymer so we can use its Material Design UI components and functionality.
1.1 Install Polymer
The first step to creating your gamepad is Installing Polymer in your project. The easiest to do this is using Bower. To see other possibilities, check the Polymer documentation.
$ cd <Project-Root>
$ bower init
$ bower install --save Polymer/polymer#^1.0.0
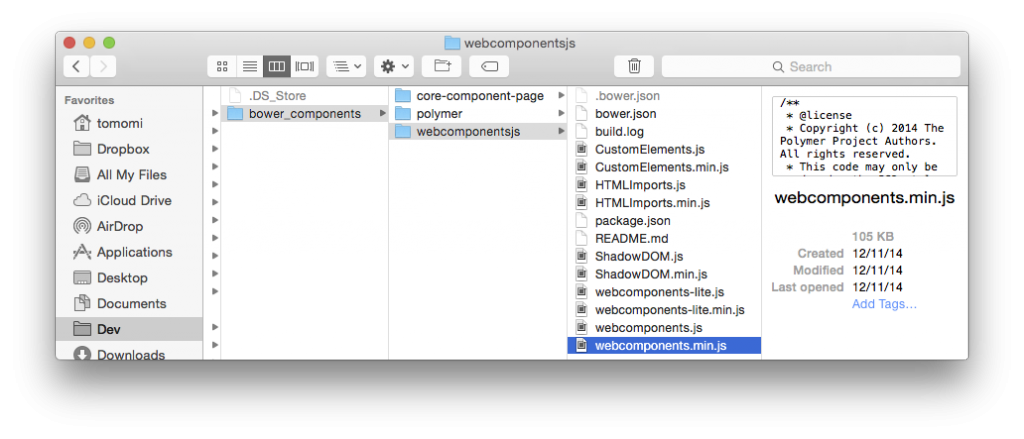
Running those commands should result in the following file structure:
To get started using Polymer elements, include webcomponents.min.js in the <head> tag of your index.html.
1.2 Import UI Components
The PubMote UI is created solely using Polymer Core and Paper elements. Let’s create our custom pub-mote element so you can see how custom elements are structured. Create the file <project-root>/elements/pub-control.html. This is where we will build our remote. However, before we use elements to make our PubMote, we must install them.
Elements Used:
1. paper-button, a responsive and elegant button UI
2. paper-fab, a Material Design action button
3. iron-icons, used for gamepad icons (core-icons in v0.5)
4. hardware-icons, also used for gamepad icons
bower install polymerelements/iron-iconset#^1.0.0
bower install polymerelements/iron-icons#^1.0.0
bower install polymerelements/paper-fab#^1.0.0
bower install polymerelements/paper-button#^1.0.0
This will install all necessary components, for our Polymer project. Now, before elements can be used they must be imported in the <head> tag of pub-control.html.
Now you can use all those Polymer elements you just downloaded and imported.
1.3 Basic Gamepad UI
First, we will make our <dom-module> tag to house all Polymer elements. Inside that, we use <div> which we will later style to have the look of a Material Design paper-shadow Card.
Inside that we create arrow keys using a <paper-button> and an <iron-icon>. Then an <img> tag for your controller logo to add some style to the controller. Our action buttons are <paper-fab> with <core-icon> icons.
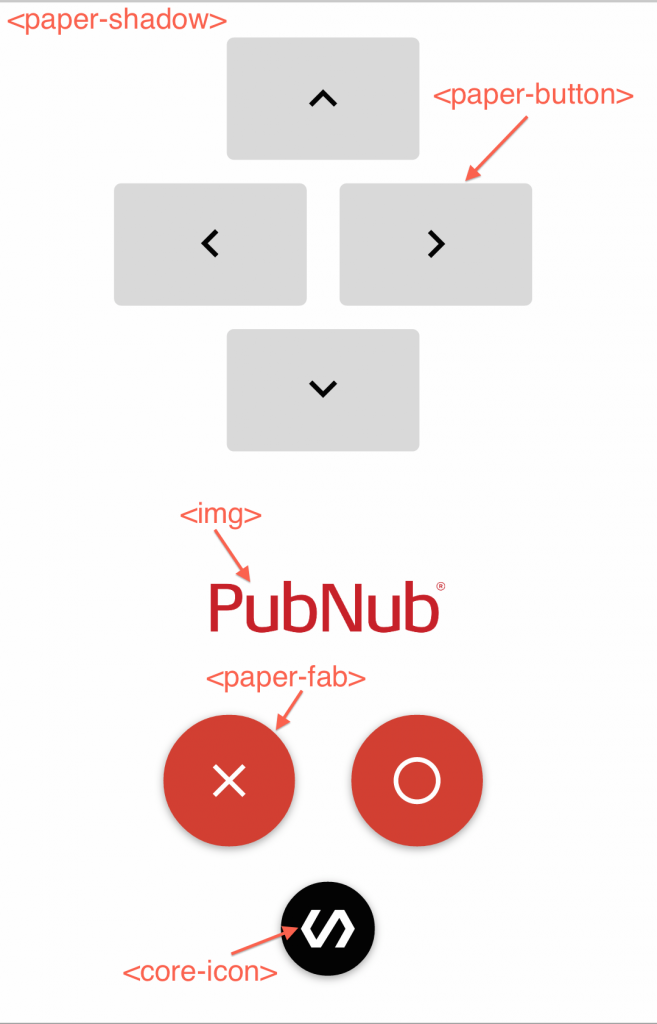
The general layout of a custom element in polymer has an id, <style>, <template>, and <script>. My element inherits properties of a dom-module, so it is structured as follows.
You can bind data inside the <template> tags, which we will cover shortly. The Polymer function in the <script> tags will register your element, and declare its properties and functions. Once your element has been loaded, the ready function is called, so you can do your setup logic in there.
I will leave the styling to you, if you would like to see mine, look here. Let’s begin with the <template>
The <p hidden="{{!isConfigured}}> tag will only be displayed if the property isConfigured is true, and then it will display the channel name, which is the value of {{channel}}. This is called data binding, the values correspond to the Polymer element’s properties with those respective names. We will change isConfigured when a user enters the name of a channel.
Polymer uses on-* syntax for click events. For the gamepad I used on-down to trigger a press event, as a controller would. Then, for the channel button I used on-tap which waits for the button to be released. The on-tap=exp syntax is an event handler (on-tap), and an expression (exp). If you were familiar with Polymer v0.5, they have done away with on-tap={{exp}}, since you will only be binding functions with on-*. The curly brace binding is only still used for element properties, and when filing in standard HTML attributes, but not for Polymer functions.
The last potentially unfamiliar bit in this HTML is data-key="<KEY>". HTML5 allows you to attach custom data to any tag. We will access this data in handleButton to differentiate which button was clicked, since all buttons call the same function.
Now we must create those properties and functions that our element uses.
This is how properties are declared. I declare the property name, type, and default value. See more options of Declared Properties here.
Elements also have optional attributes that you can find in the documentation. I used <paper-fab mini> to create the smaller bottom button. Basic CSS can also be used on an element’s tag. For example, if you want to change the color of your <paper-fab> buttons you could do the following:
1.4 Using your custom element
Back to your index.html we go! Just like any Polymer element, import and use it.
It’s that easy. The fullbreed attribute causes the body to fill the viewport, and the unresolved attribute will allow all Polymer elements to be loaded before being displayed, avoiding any flash of unstyled content issues (FUOC).
2. Implementing Our Gamepad
2.1 Installing and Importing PubNub
PubNub has a Polymer element pre-made. The <pubnub-element> does not have any UI, but it can be used to publish messages from our gamepad. It requires your own API keys, so to continue, you need to sign up for a PubNub account to get your publish and subscribe keys. Your publish/subscribe keys are in the Developer’s Admin Dashboard.
Once you have completed that, <pubnub-element> can be downloaded using Bower.
$ bower install --save pubnub-element
To import this element in your pub-control.html, using the following line:
2.2 Using the PubNub Element
You can initialize the PubNub client using the <core-pubnub> element with your keys. Inside the <core-pubnub> we will use a <core-pubnub-publish> element to send keypresses from our gamepad.
Note: this element should be the last tag in the <template> of your <pub-control> element.
<core-pubnub-publish> is used to send messages to all subscribers of a channel. Also, since we use {{channel}} means that our template will need the property channel, which it has. Then, to publish a message, we need to access the <core-pubnub-publish> as follows.
You can access the <core-pubnub-publish id="pub"> anywhere inside the Polymer({...}) function by referring to this.$.pub.
2.3 Implement Your Gamepad
All of our gamepad will be implemented in our <pub-control> element. Looking back through the code you will notice that so far the attributes that the template needs are:
- channel
- isConfigured
- handleButton
- changeChannel
We can begin my implementing those as follows:
Take a deep breath. Currently, all of our gamepad buttons are functional. If I press the <paper-button data-key="UP" on-tap="handleButton"> button, it will call the template’s handleButton function. That function pulls the data-key field (“UP”), and then publishes the value to the current channel. When a button is clicked, an on-down click event e is fired. To access the data-key of the HTML element that was clicked we use e.currentTarget.dataset.key.
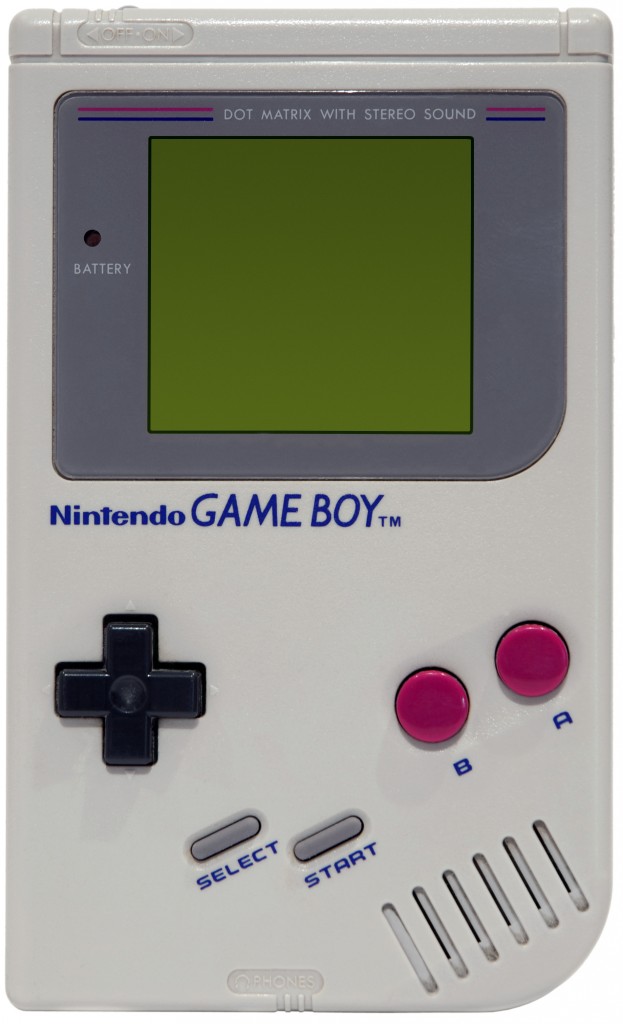
Welcome to 1989, we now have a functional Gameboy! We can do better than that though.
The final step for us to catch the 2006 Wii tracking the smartphone’s accelerometer values so we can add tilts and shakes to our games.
First, add the accelerometer fields to your controller.
Now, we will implement the ready function for our element. I’m sure most of us know the jQuery $(document).ready() function. Polymer’s ready is similar. When any <polymer-element> is loaded and ready to be rendered, it will then call its own ready function. Since we want to wait for our controller to be loaded before attempting it to run any code, we will begin to implement ready as follows:
From my tests so far, it seems iOS and Android implemented their accelerometer in opposite directions. Shocking, I know. A left tilt on android produces the value of a right tilt on iOS. To make these values uniform, we store the boolean iOS which tells whether the controller is an apple product.
The variable lastUpdate will be used to set a time threshold, so we aren’t publishing a value every millisecond, that would be unnecessary and probably slow our game down. You may have to play around with the value of SHAKE_THRESHOLD a little bit, depending on what you consider a shake. We will get there though.
Now for the fun part. To start, we only want our gamepad to register accelerometer tilts if the device viewing the page has an accelerometer.
If an accelerometer is found, we attach a devicemotion listener to our window. The second parameter, accelerometerUpdate is a function that will be called whenever device motion is seen.
There is a scoping issue with polymer and the use of Shadow DOM, but in an event listener, we do not have access to our element’s properties. To get by this simply declare the variable var self = this. Read the code comments to see what is happening at each step, but for the most part this code just checks and publishes the aX tilt and device shakes.
If you are holding the phone in portrait mode, aX is the tilt is left and right. A shake is based off how large the change in X,Y,Z coordinates was over the span of 100ms, a large change probably means a shake.

Congratulations, you made your very own motion controller PubMote! Now we can go use it in some JavaScript, browser-based games.
3. Using your PubMote
I am going to show you how to use your gamepad with a JavaScript game that uses the keyboard.
To see an example of using the accelerometer, see this code with comments, but we will be modifying Pac-Man (to create Pub-Man).
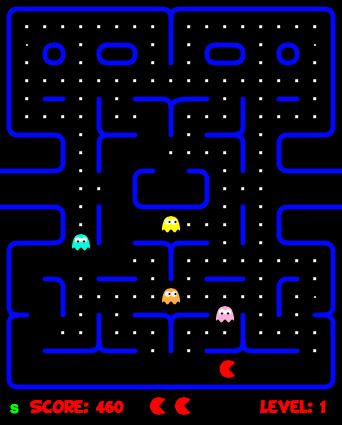
I found this JavaScript version of Pac-Man, open source on github. It uses the N key to start the game and the arrow keys to control Pac-Man. To use the PubMote, I simply created a function in Pac-Man’s index.html to simulate keypresses.
Then, in your PubNub subscribe function, handle the controller button presses as keyboard events.
That’s it. Now you can use your PubMote with JavaScript games!
