About Business Objects
Business Objects bring data into Illuminate. They store data you use for decision‑making and visualization.
Business Objects let you define the following:
- What to track and how to segment it (add data fields).
- Where to capture the data (use mapping to point fields to your backend with JSON paths).
- How to aggregate the captured data (create metrics).
- How to use the captured data in one of the predefined queries in Query Builder.
Configure App Context
You can use Illuminate without enabling App Context. If you link to App Context data through JSON paths (channel, user, or membership), enable App Context for the app’s keyset in the Admin Portal and turn on required options (for example, Membership Events).
Business Objects structure
A Business Object has two elements: Data fields and metrics.
Data fields
Data fields are what you track in your application and can have the following types:
Number— numeric data like1000or10.5. Use to measure values (session duration, amount, points).String— text likeNorth RegionorVIP User. Use to group measurements (dimensions), such as delivery zone, user type, game level, or key moment.String (Max)— 1000-character text data fields. Use for chat message fields, comments, or descriptions.Timestamp— date and time, for example2024-06-14T21:32:27Z. Use timestamps to calculate duration.Derived (Duration)— the difference between two timestamp fields in the same event. Add the timestamp fields before you create a derived field.
The maximum number of data fields per Business Object is 100.
For details on how to add data fields, see Create Business Objects.
Metrics
Once you define data fields, create metrics to aggregate them. Metrics are the calculations you apply to your data.
Metrics add context, such as average purchases during a watch party or total value sold. If a Business Object is a spreadsheet of raw data, a metric is like a pivot table that aggregates and filters it.
A metric is required to create a Decision or to visualize on Dashboards through charts.
As part of a metric, you can:
- Choose how to aggregate your data (
Sum,Max, and more). - Select a data field for which you want to group by or count.
- Apply various filters to chosen data fields.
Add metrics only to an existing Business Object. Then define these elements:
| Item | Description |
|---|---|
| Metric name | A required display name for the metric. |
| Function | The measurement type. Values include:
|
| Measure | What you want to aggregate. |
| Period | Aggregation window or the time period for your metric. For example, the average number of purchases by the hour where the period is 1 hour. |
| Dimension | How you'd like to group the data in your metric. |
| Filter | The data you want to include in or exclude from your metric. |
For information on adding metrics, refer to Create Metrics.
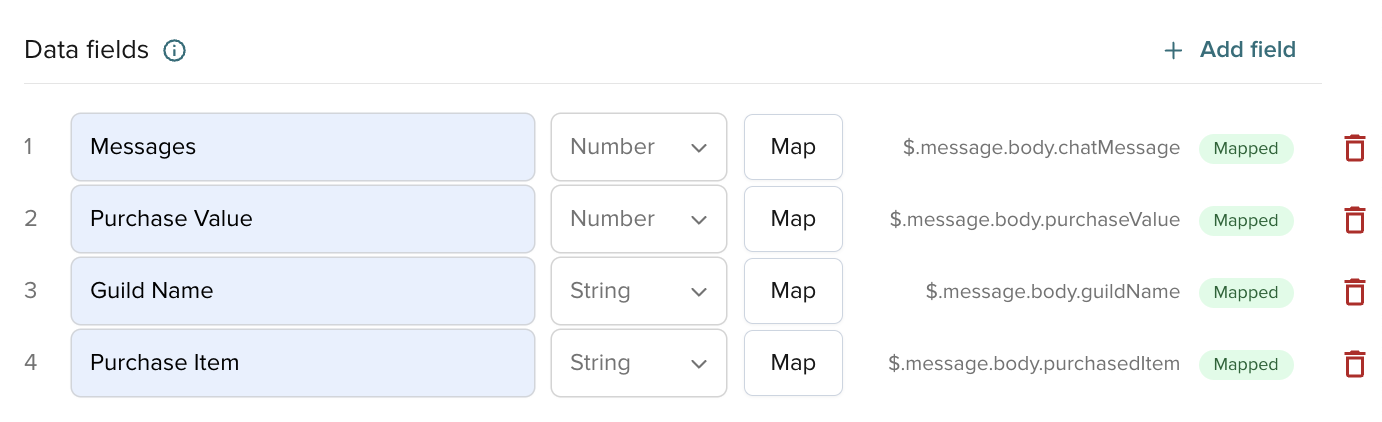
Data mapping
Mapping defines the data source for your data fields.
After you add a field, define where Illuminate finds it. Map fields before activation. Activation starts data capture.
To define the source, click Map next to each field, choose Category and Subcategory, and enter the JSON path as needed. For Derived (Duration), select the two timestamps to calculate the difference.
If PubNub powers your real‑time apps, Illuminate works with your Publish API and App Context data.
Configure App Context
If you link to App Context data through mapping (channel, user, or membership), enable App Context for the app’s keyset in the Admin Portal and turn on required options (for example, Membership Events).
To use data from Publish API, select message in Category, then a Subcategory. If you select meta or body, enter the JSON key in JSON path. For nested keys, enter key.nestedkey.

To use data from App Context, select user, channel, or membership in Category, then a Subcategory. If you select custom, enter the custom data field name in JSON path.

Limits
JSON path mapping limits:
- Depth:
20 - Numeric characters:
200 - No recursive descent (
..) - No wildcards (
*) - No script expressions (
?(@.x > y))
Additional details
To work effectively with Business Objects, mind the following:
- To create and save a Business Object, you must define at least one data field. However, you must create at least one metric to use the Business Object in a chart. Once saved, you can create a metric and/or a query.
- For a Business Object to start capturing and storing the data based on the information provided, you must activate it. To activate a Business Object, all data fields must be mapped and you must have at least one app & keyset selected.
- You can either first activate a Business Object or create a Metric or a Query for it — the order doesn't matter.
- Once you activate the Business Object:
- Illuminate starts capturing the defined data.
- You can add a metric to it or create a query.
- You can edit a metric in this Business Object if it's not used in an active Decision.
- You can edit a query that sources data from this Business Object if it's not used in an active Decision.
- You can still change the JSON paths mapped for data fields.
- You cannot add any more data fields to this Business Object.
- You can deactivate the Business Object if you no longer need it. When you deactivate a Business Object, the data defined in it is no longer captured. If you reactivate the Business Object, the data will start flowing anew, but you must account for the data gap between the deactivation and reactivation periods.
- When you delete the Business Object, it's permanent, and you cannot undo this action. Any Decisions and charts within Dashboards that use this deleted Business Object will get automatically deleted.
Home page
The Business Objects home page provides the list of all created Business Objects along with the following information:
- Number of dashboards a Business Object is used in
- Number of decisions a Business Object is used in
- Number of mapped and unmapped data fields
- Activation status
Click the Ellipsis (...) next to an item to activate/deactivate, edit, or delete a Business Object.

Settings
In the selected Business Object view, you can edit, activate/deactivate, or remove the Business Object.
